Who doesn’t love receiving a gift basket full of treats and goodies? However, store-bought gift baskets can be expensive and impersonal. DIY gift baskets are a whole lot more meaningful because you can personalize them with the recipient’s favorite things and even some inside jokes. Plus, you get to set the budget. Learn how to make a gift basket at home by choosing a fun theme that includes lots of yummy HERSHEY’S candy and snacks.
Easy Step-by-Step Guide for How to Make a Homemade Gift Basket
A homemade gift basket is a lot easier than it looks! Just follow this step-by-step guide for how to make a gift basket and you’ll be able to build a customized masterpiece for the recipient. Whether it’s for a get-well gift, a dear friend’s birthday or anything in between, all you need are a few goodies and a lot of creativity. We’ll help you get started.
1. Plan a gift basket theme or experience.
Not only is building a gift basket around a theme lots of fun, but it also makes the process much easier. Think movie nights, spa days and chocolate tastings — so many theme possibilities! You may even want to start by choosing a focal gift or item to build upon. Then, fill in the basket with thoughtful items that remind you of the person or of memories you’ve had together.
Plan ahead, if you can, so you have plenty of time to seek out the perfect items for your basket. That will also make this project a whole lot more enjoyable, while avoiding “panic buying” at the last minute. Speaking of which, it’s best to set a budget because it’s very easy to go overboard when buying items piece by piece.
Gift Basket Ideas and Themes
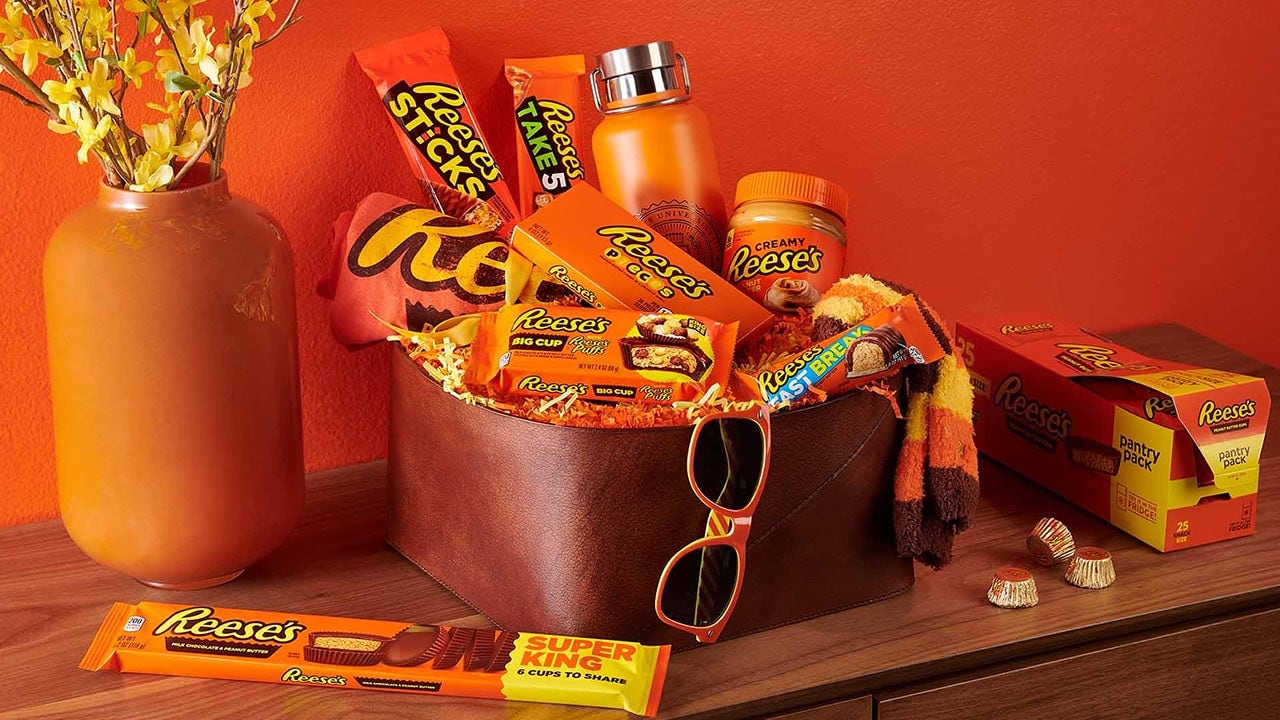
Chocolate Lovers
For the people in your life who simply adore everything chocolate, make a basket of their favorites — like REESE’S Peanut Butter Cups — or include an array of chocolates.
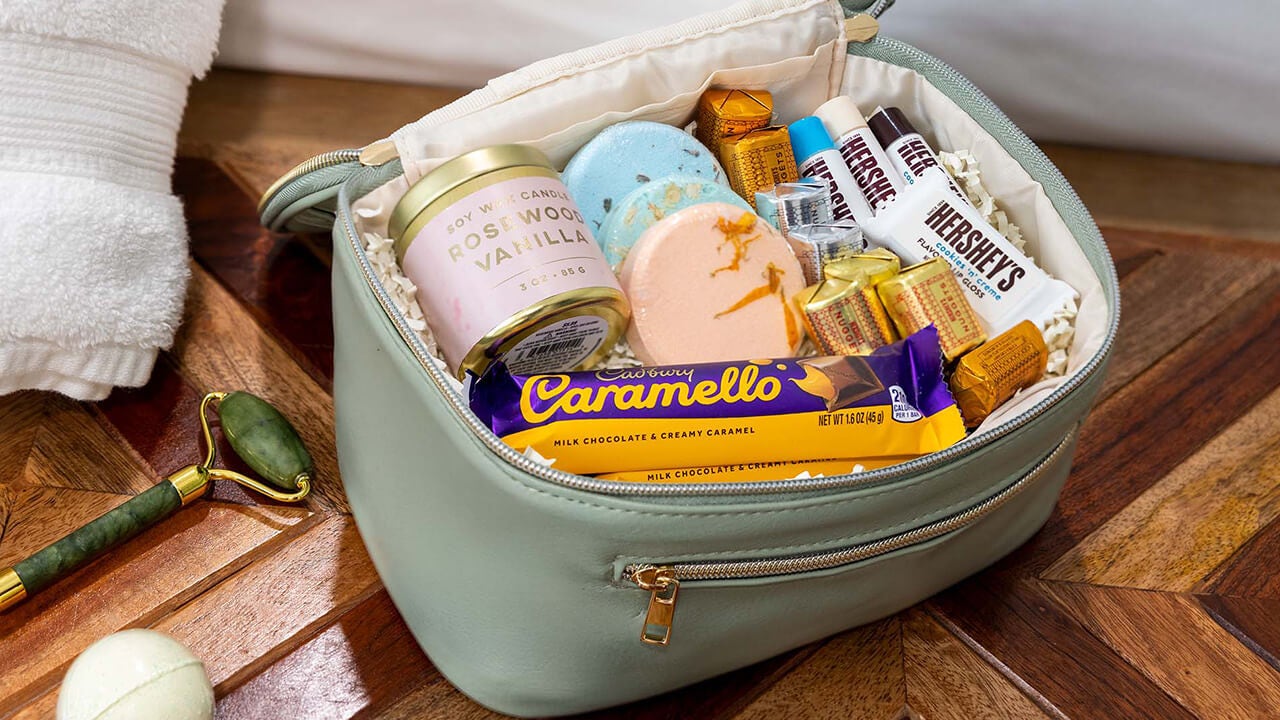
Spa Day
Self-care is the best care, especially when it includes candy. Add some decadent chocolates, body scrubs and tools all in a makeup bag for a me-time treat. You can make your own chocolate spa treatments, too!
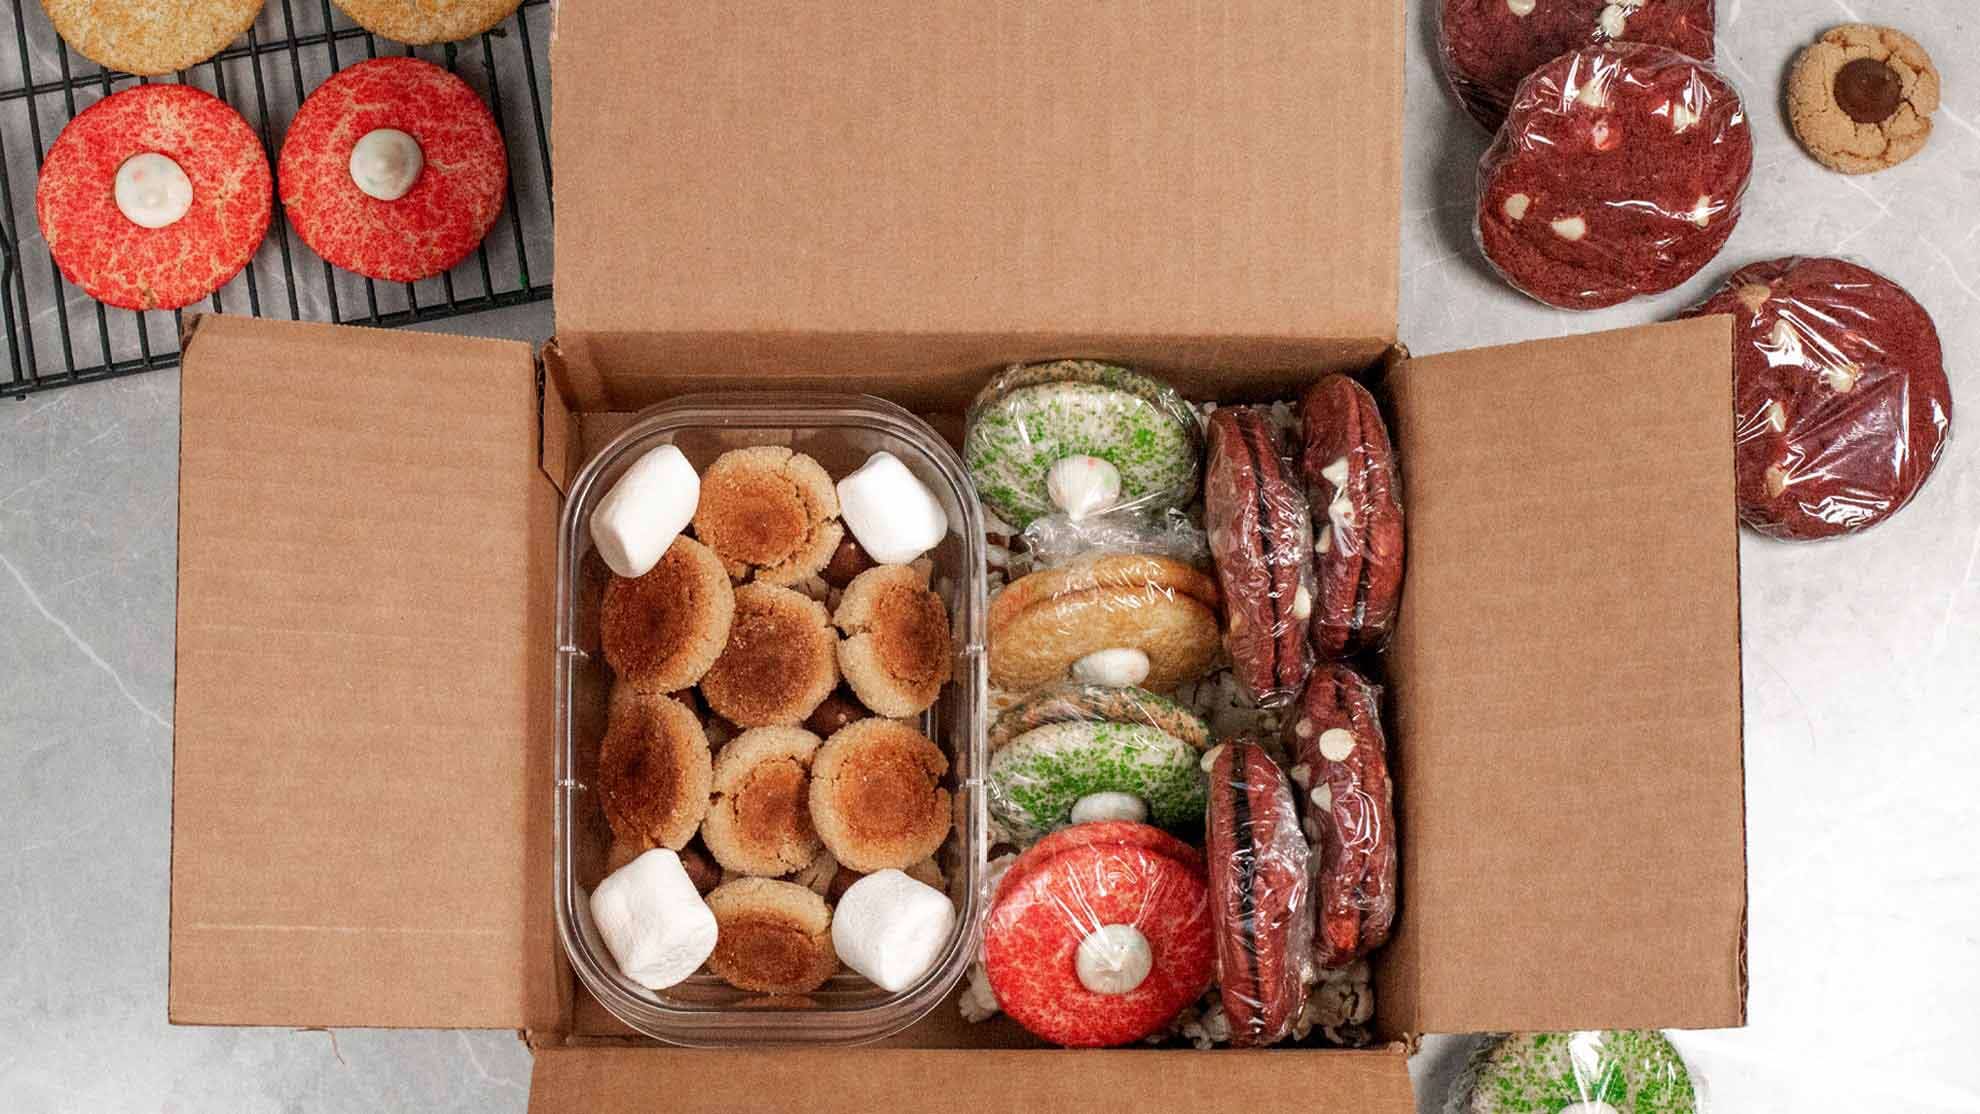
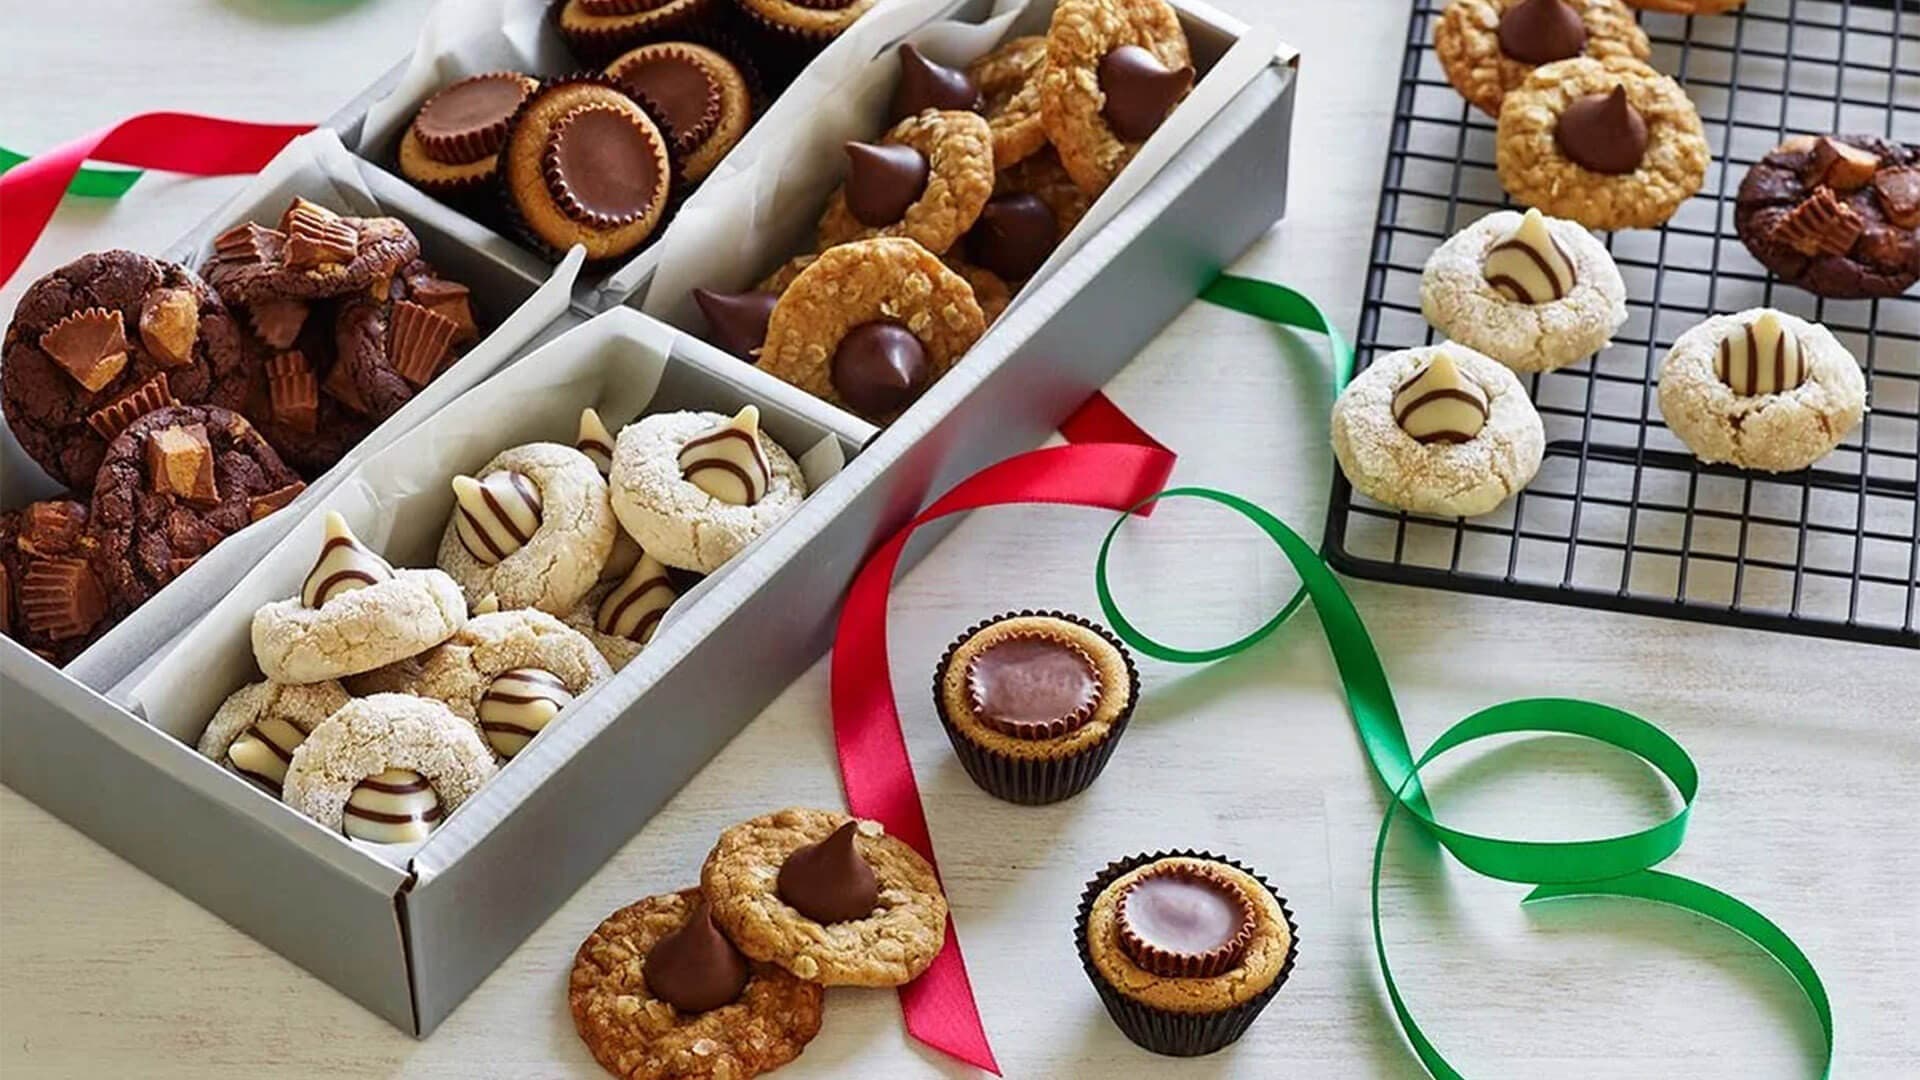
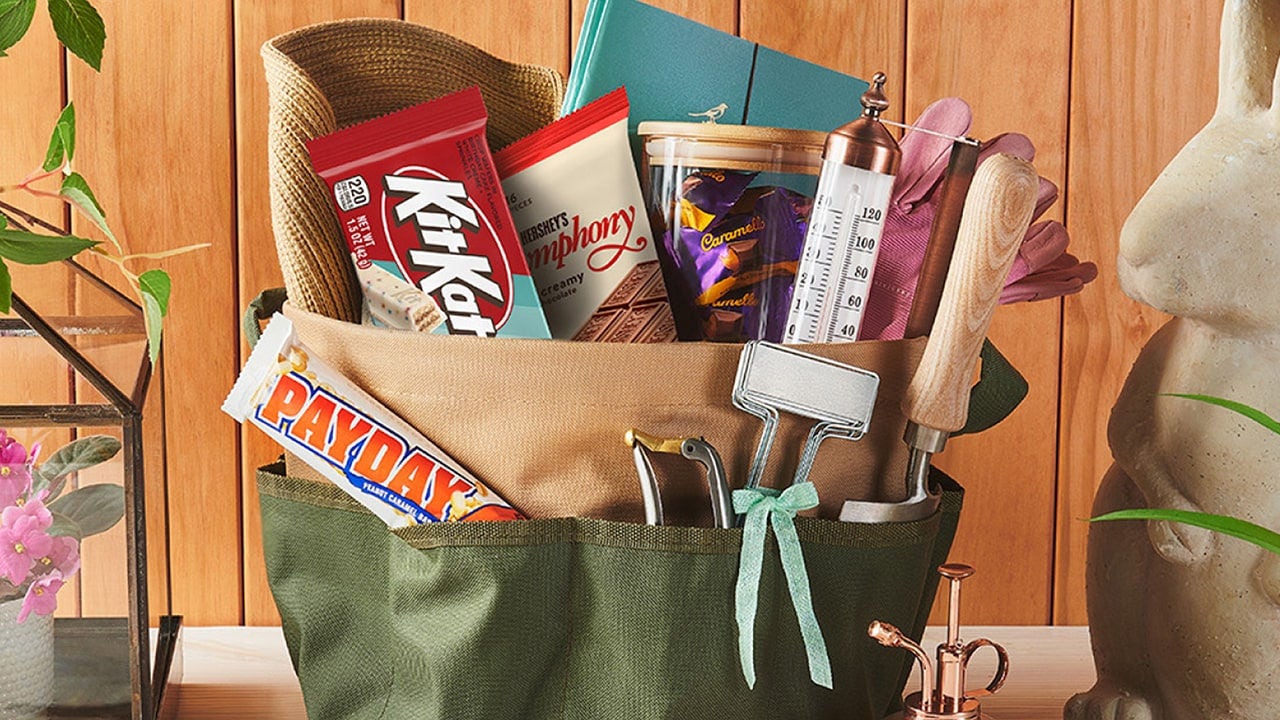
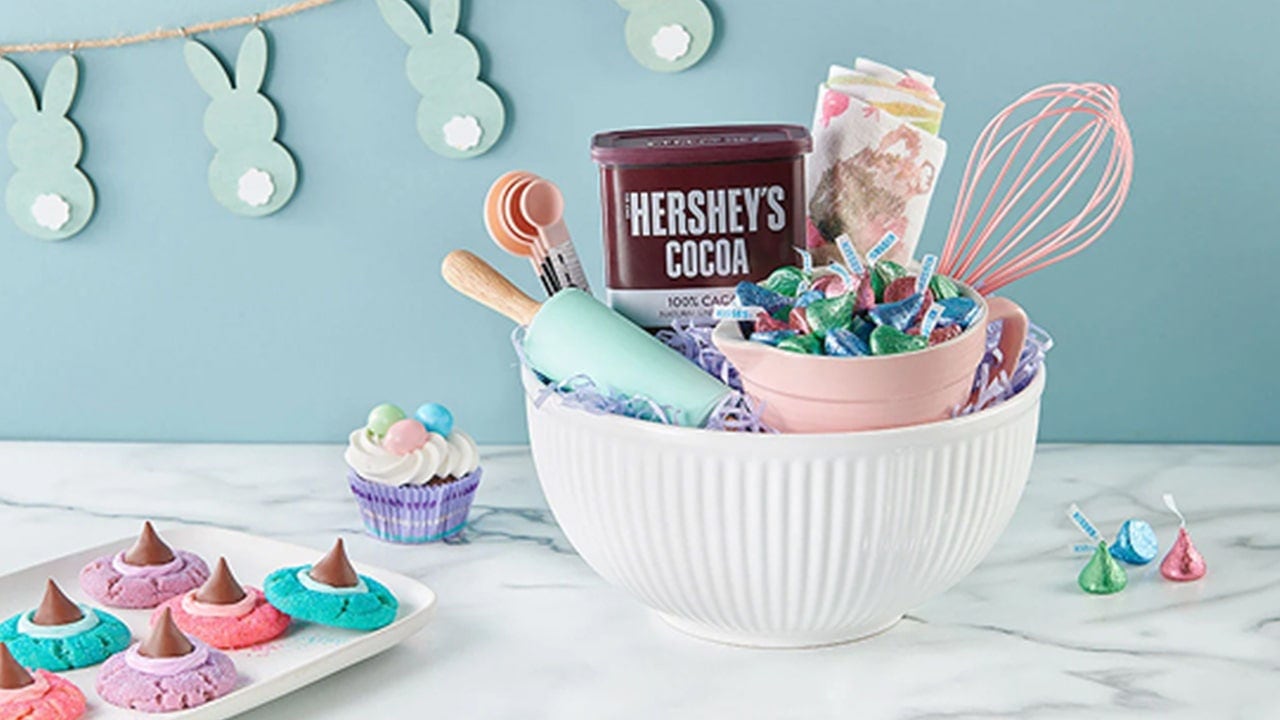
Baking
Whether it’s to celebrate the holidays or just for someone who adores baking, pack a basket with kitchen items and baking ingredients. You could even use a mixing bowl as the “basket.”
Gym Bag
Turn a reusable gym bag into a gift that says, “You’ve got this!” This could feature a cute water bottle, cooling towel and protein snacks like ONE Bars.

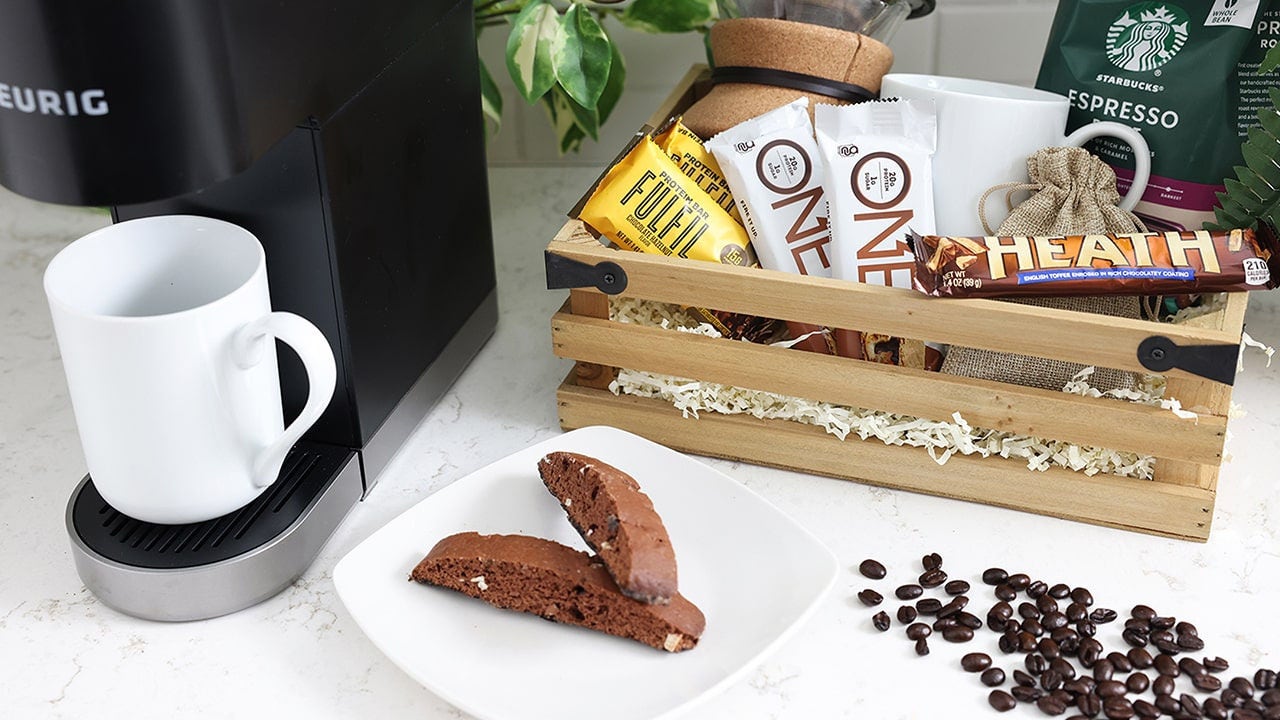
Coffee and Tea
Send caffeinated yet cozy vibes with a selection of teas, coffees, mugs, tea towels and snacks to match. This also works well as a housewarming gift.
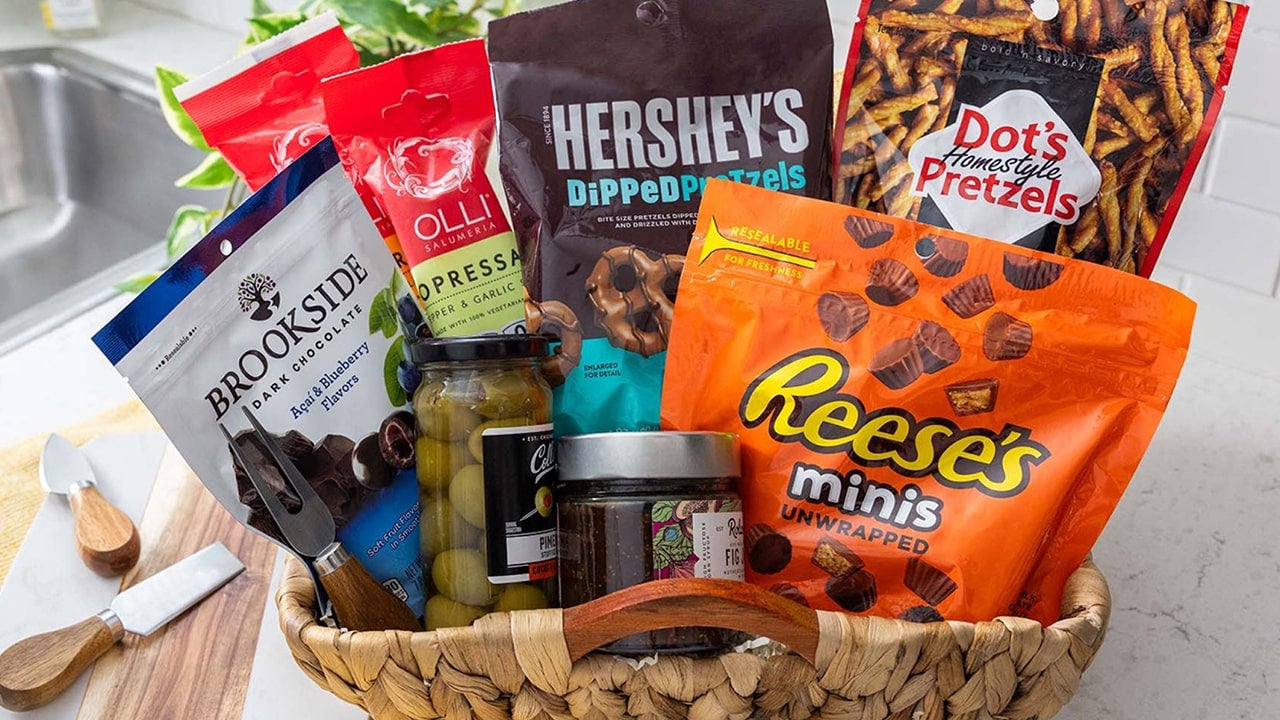
Charcuterie
Here’s a gift for the foodie in your life. Put the “cute” in charcuterie with a variety of salami, cheeses, olives, crackers and bite-sized chocolates on a fancy cutting board or platter.
Check out more gift basket ideas
2. Choose a gift basket basket or base.
Just because it’s called a “gift basket” doesn’t mean it has to be contained in an actual basket. Follow your theme to come up with unique baskets or bases that are useful and sustainable, too. Consider of things they’ll actually use after the gifts and treats are gone. From platters to flowerpots, skip the boring basket and find a fun container. Make sure it’s sturdy enough to hold everything and that it will travel well.
Alternative Gift Basket Ideas
- Mixing bowls
- Storage bins
- Decorative platters and bowls
- Open totes, purses, suitcases or backpacks
- Buckets and flowerpots
- Cutting boards
- Laundry baskets
3. Plan what to put in a gift basket based on your chosen theme.
Think of this as the “inventory” stage, where you’ll start with your feature gift or focal item and then choose items in a variety of sizes and textures that fit with that main gift, theme or experience. You’ll also want to consider what kind of decorative basket filler you’ll be using. It could be simple shredded paper or something like vase filler that they could reuse.

Gift Basket Filler Ideas
- Shredded paper or cellophane
- Tissue paper
- Confetti or sequins
- Packing peanuts
- Vase filler
- Dish towels
- Blankets
- Pasta noodles
- Candy
4. Assemble and wrap your gift basket.
It’s time to start building! The best baskets are all about height and layering. Start with the largest item and use it as a backdrop. But in general, the tallest items go in the back and smaller items toward the front. For smaller items, use small boxes or stands to give them a boost.
Once everything’s in place, the secret to keeping it that way is securing items with glue dots, tape or skewers. No wobbling, no shifting, no problem! You want the basket to look just as good after it’s been transported. After everything is assembled and secured, add the decorative filler to fill in all the gaps and make the basket look nice and full.
Be sure to add a handwritten note to make it heartfelt and also to describe the theme or experience. If you’re wrapping the basket, use clear cellophane so all the goodies are visible. Fasten it with ribbon or bow.
How to Wrap a Gift Basket
- Place the filled gift basket on top of a large sheet of clear cellophane. Make sure the basket is centered.
- Gather the cellophane edges at the top of the basket.
- Secure the cellophane with a twist-tie.
- Tape down any loose cellophane.
- Add a decorative bow or ribbon over the twist-tie.
- Trim the tips of the cellophane, if you wish.
Frequently Asked Questions
-
Gift baskets are versatile and can be used as raffle baskets for fundraising, birthday gifts, holiday white elephant exchanges, housewarming gifts, sympathy gifts, get well gifts and so much more. By incorporating a theme, you can make it a truly personalized gift or experience for the recipient.
-
The amount to spend can vary greatly, depending on the occasion, the recipient or your budget. Be sure to set a budget before you begin, so that it serves as a guide for building the gift basket. You should be able to create a memorable gift basket for $25–$50, but feel free to spend more or less, as you see fit. You can also include handmade items to keep the budget in check, and they also provide a personal touch.
-
As long as it fits, there is no limit on what you can put in a gift basket. We suggest starting with a theme or experience to help guide you in choosing the contents. And if you know the recipient well, include items that remind you of them or things that they will enjoy.
-
There are plenty of alternatives to cellophane. While they’re not clear, wrapping paper, newspaper and brown paper would still work well. For more environmentally friendly options, try tulle, fabric scraps, scarves or tablecloths.
-
The easiest option would be to include them in an envelope with your card. You could also use tape or glue dots to attach them to the largest item in the basket. For multiple gift cards, create a gift card garland using ribbon or string and then secure the ribbon to the gift basket.