
How to Make Homemade Ice Cream

Published: Jun 15, 2026

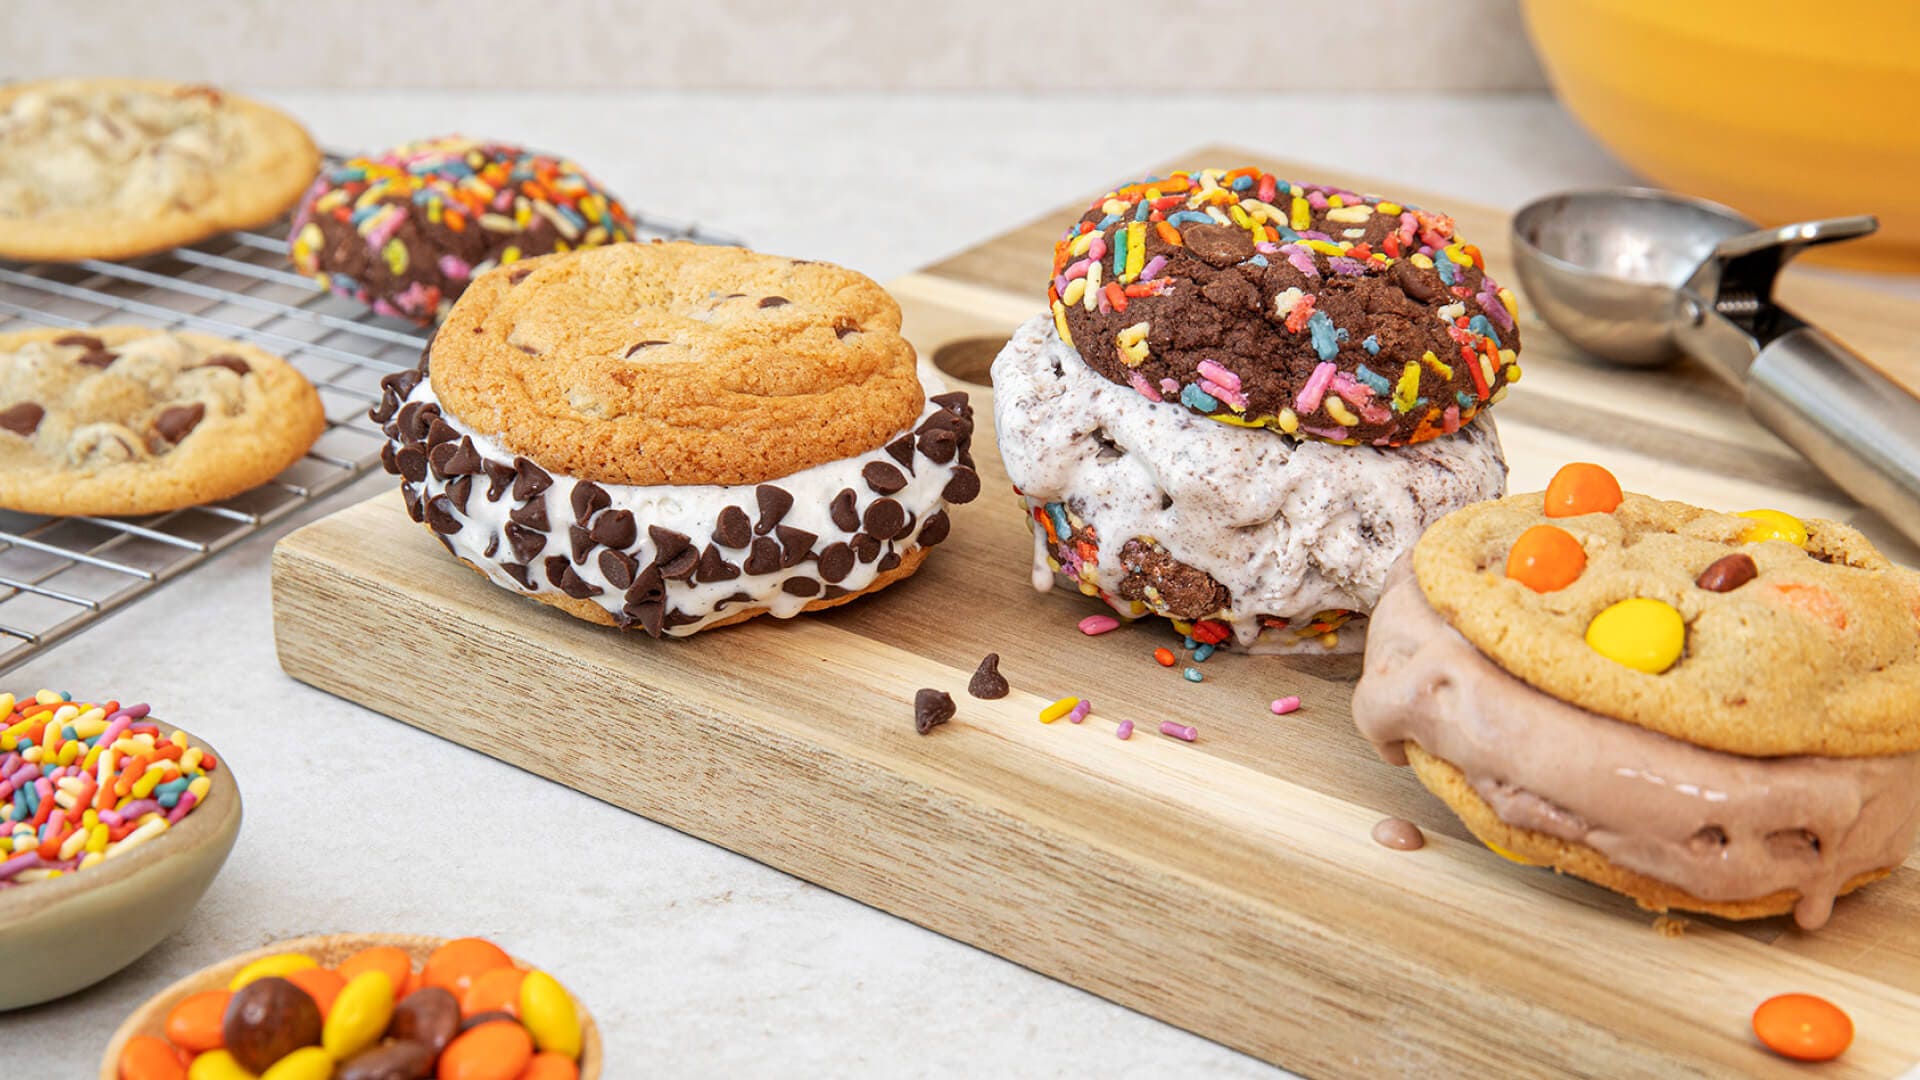
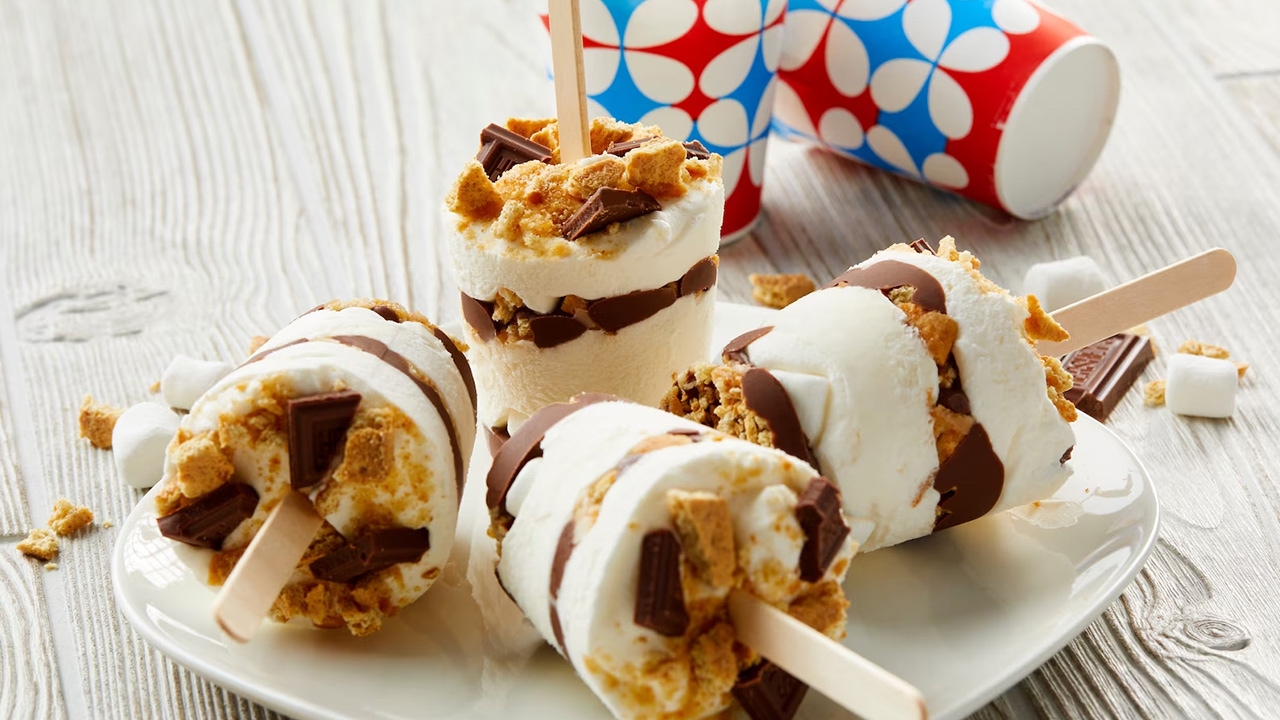
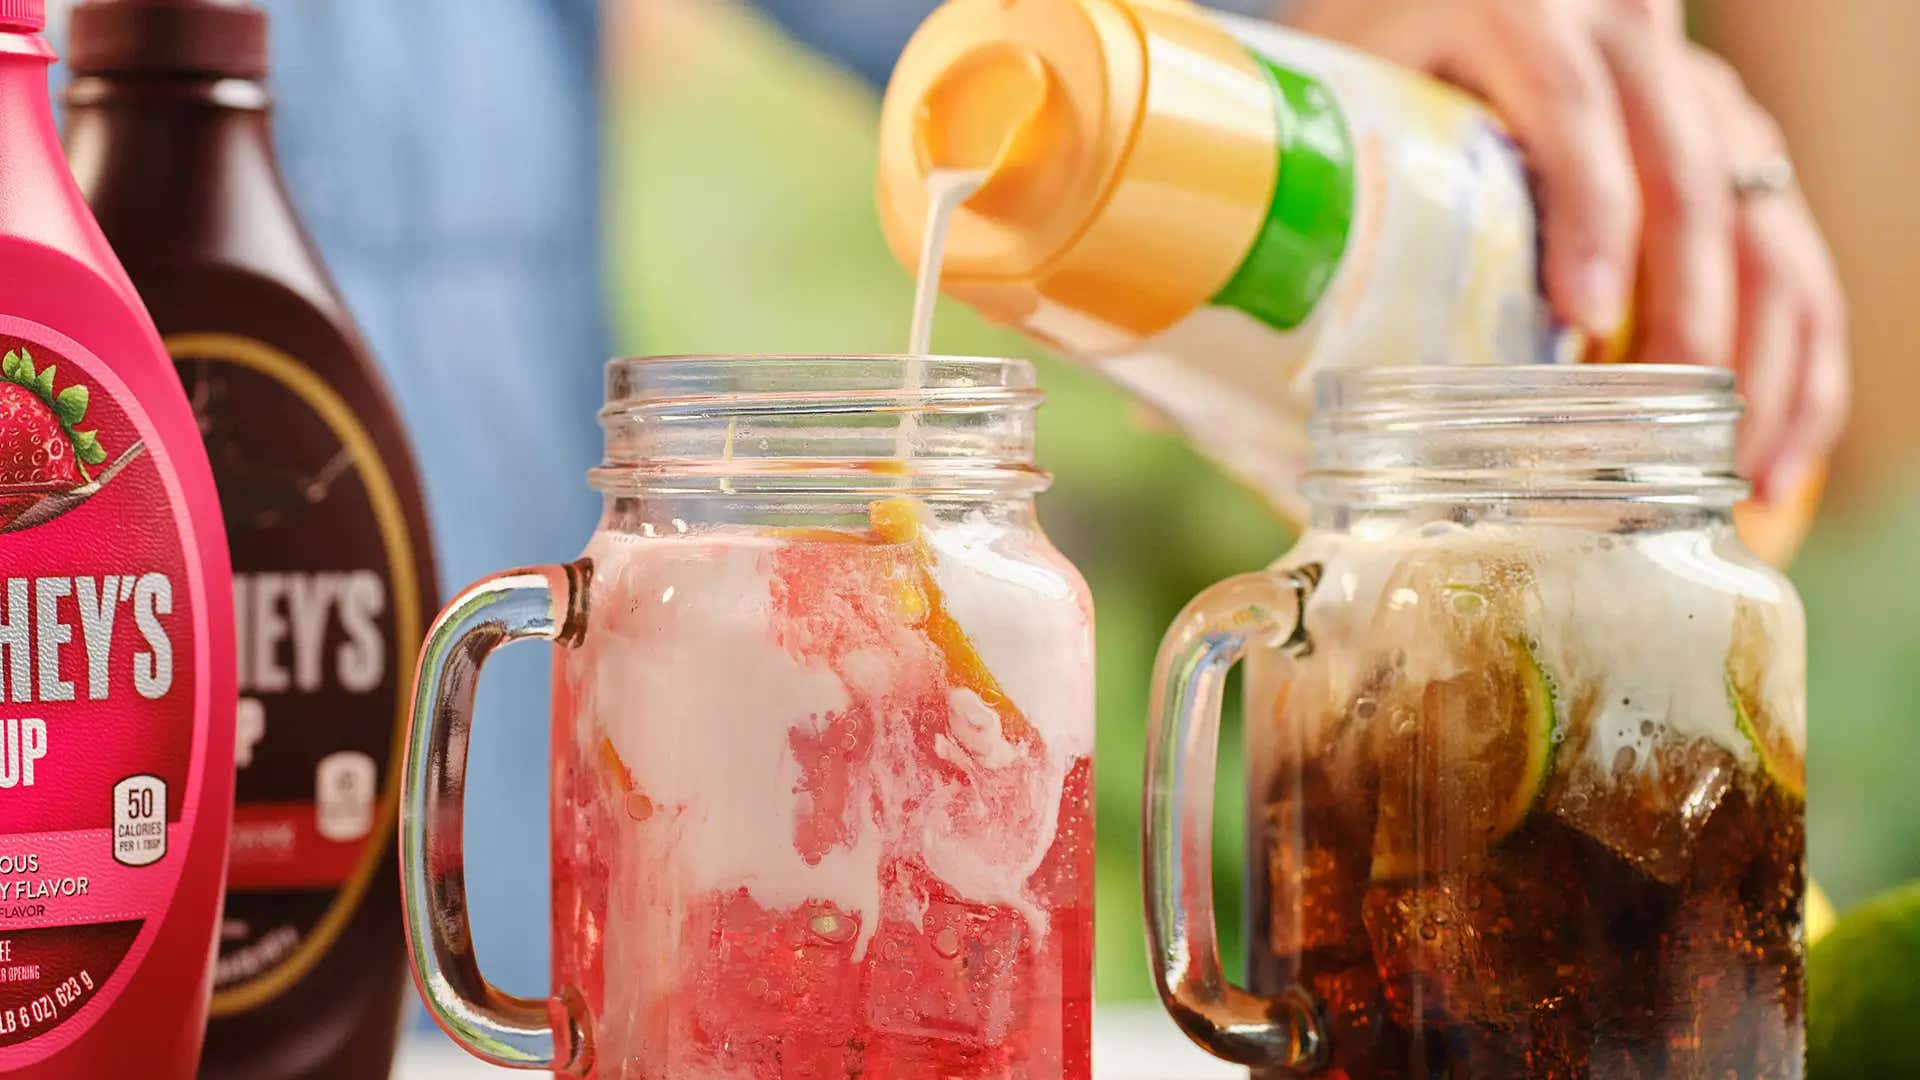
There’s something special about homemade ice cream — the fresh ingredients, the creativity and the fun of making it yourself. Whether you’re whipping up a classic vanilla or experimenting with more unique flavors, homemade ice cream is a sweet treat that’s fun to make and fun to eat.

We know a thing or two about ice cream, so we’re excited to share some of those ice-dreamy insights. In this guide, we’ll walk you through all the basics, including:

  • A simple homemade ice cream recipe base
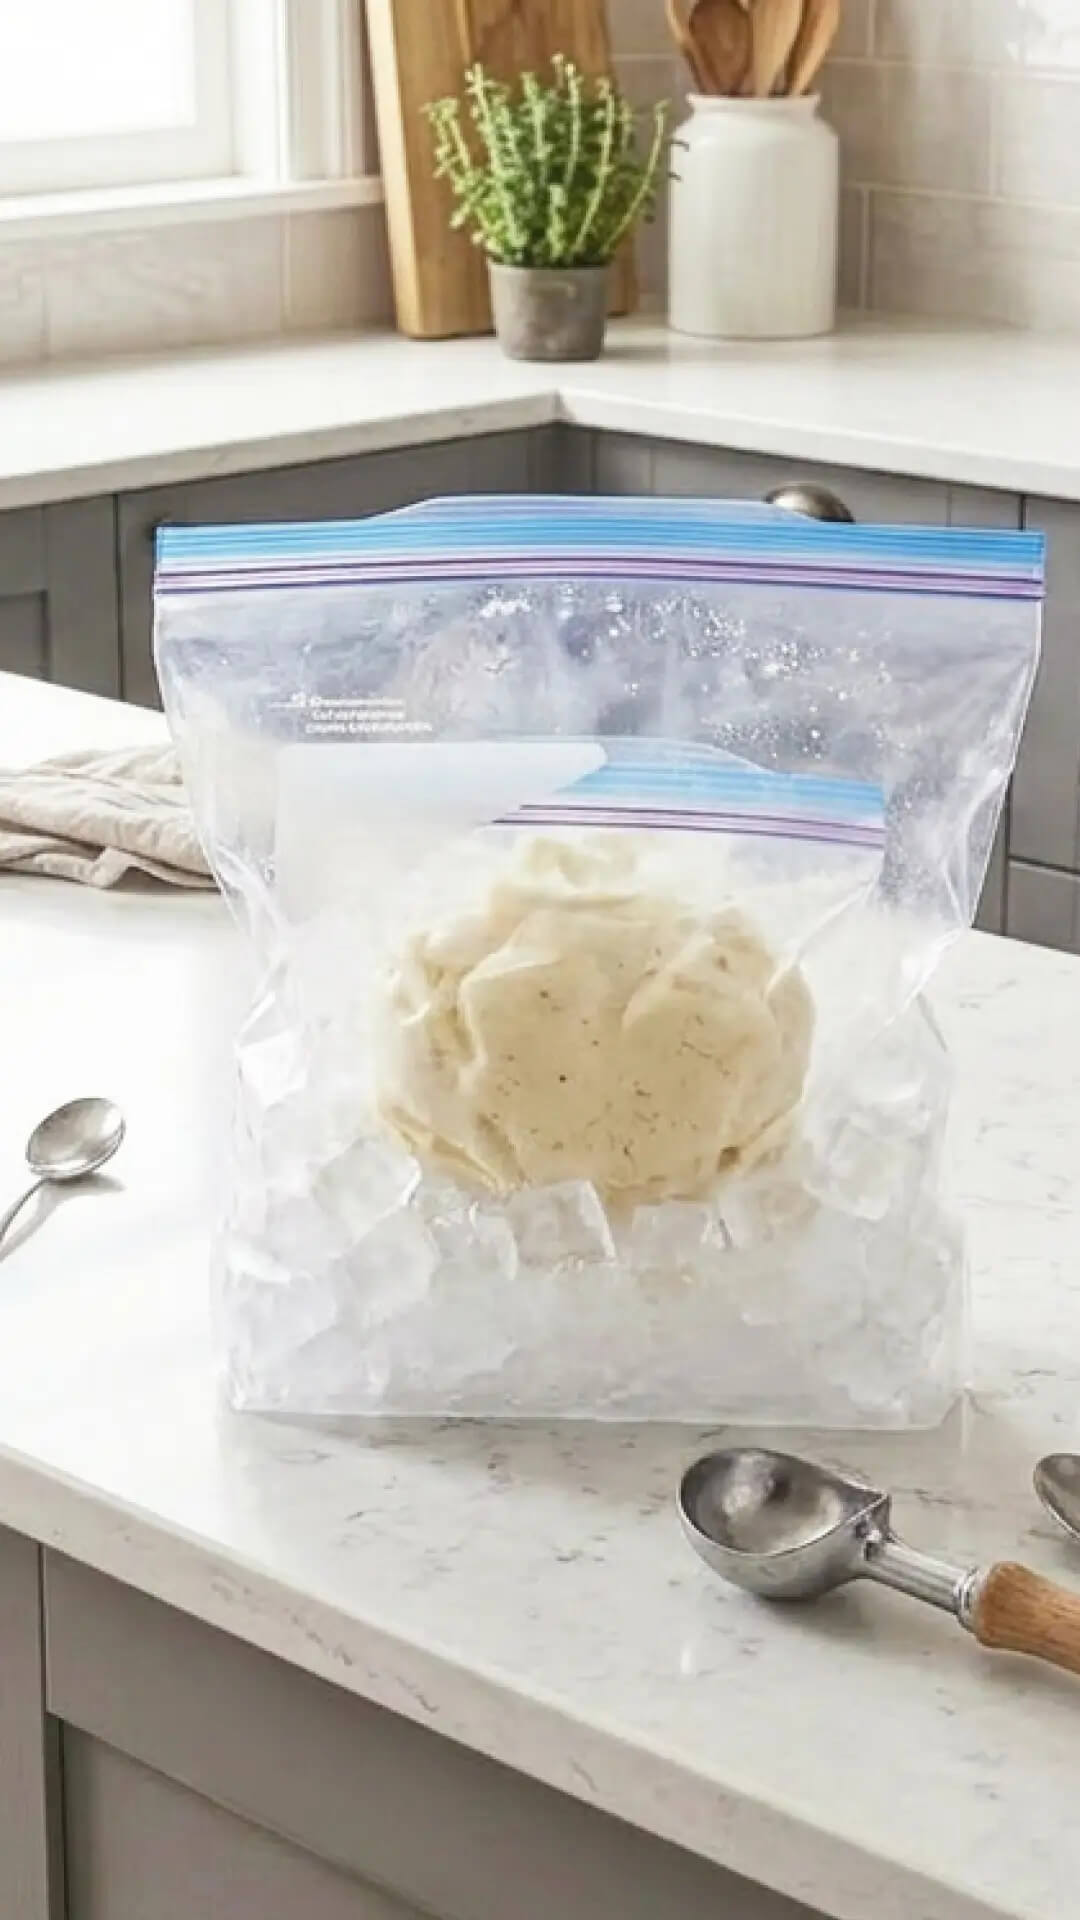
  • How to make ice cream in a bag (without an ice cream maker!)
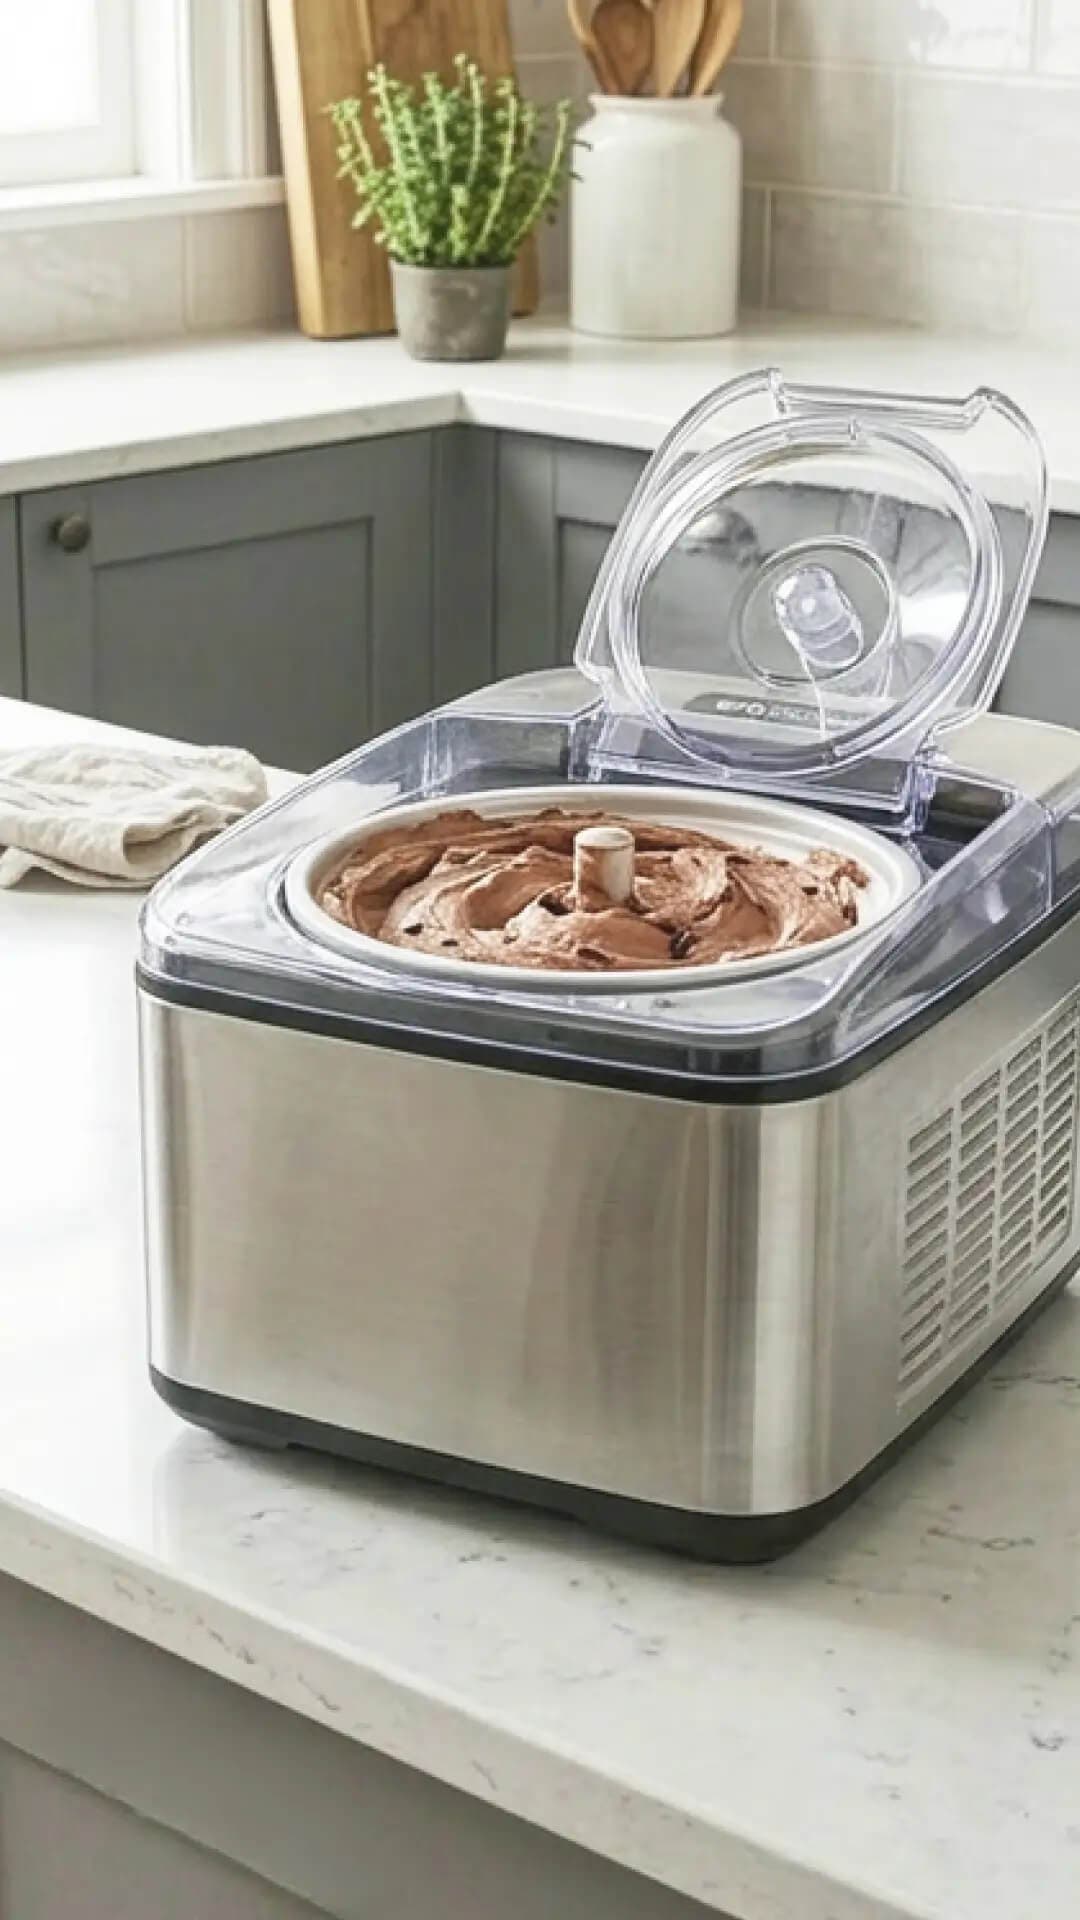
  • Easy homemade ice cream recipes for an ice cream maker
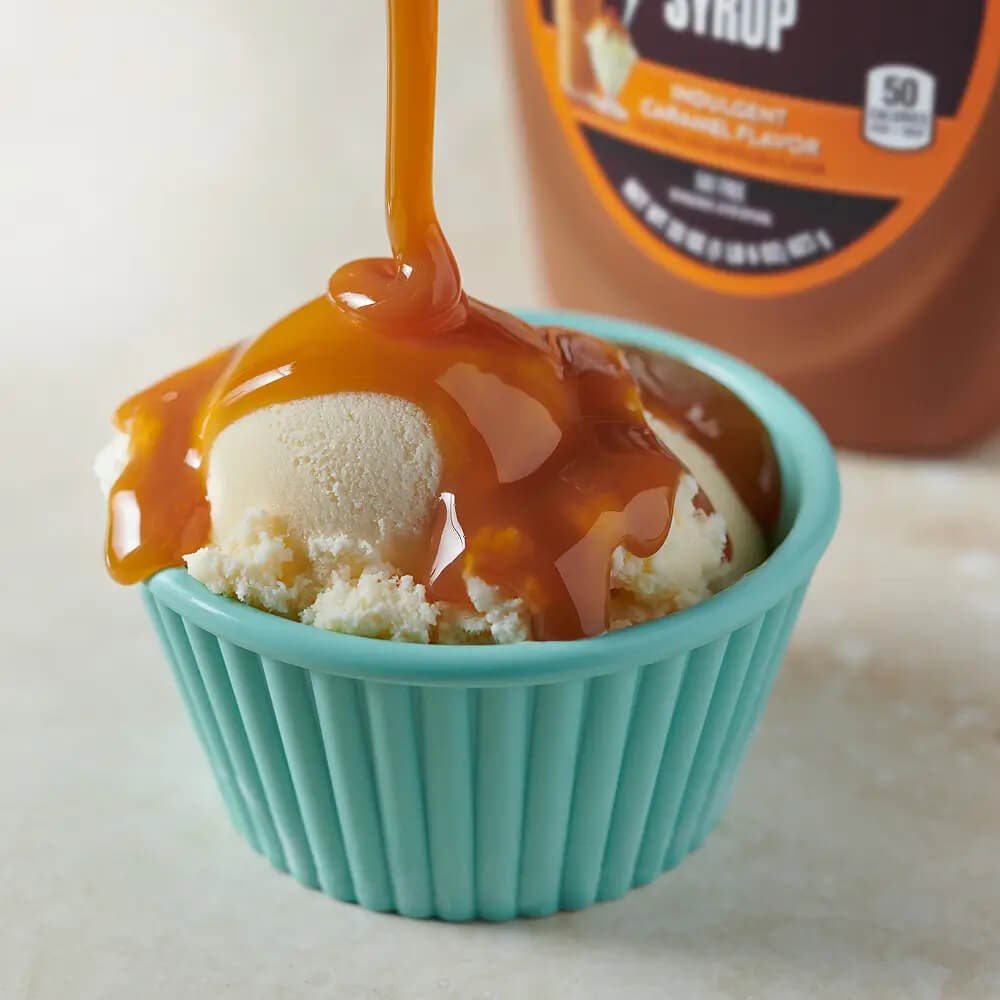
  • Classic vanilla and chocolate flavors
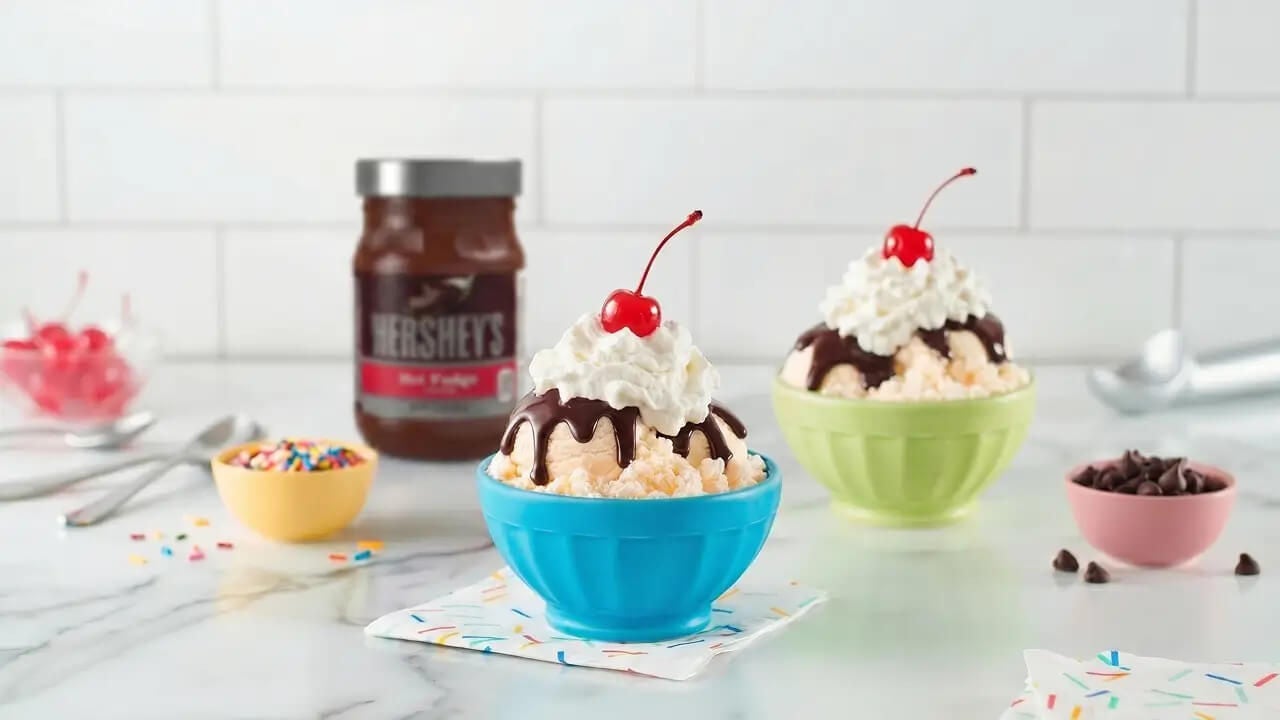
  • A bonus section on creating an ice cream toppings bar

Let’s get scooping!

What You Need to Know Before You Start

Before you start making homemade ice cream, it helps to understand your options. Let’s talk methods and flavors.

bowls of ice cream with hot fudge topping

One of the biggest decisions is whether you’ll use an ice cream maker or a no-churn technique like the bag method. With the bag method, your ice cream base is sealed inside a small bag, which is then placed in a larger bag filled with ice and salt — the salt lowers the temperature of the ice, allowing the mixture to freeze as you shake it. An ice cream maker typically produces a creamier, more consistent texture, while the bag method is quick and especially great for kids or small batches.

No matter which one you choose, homemade ice cream is surprisingly simple and highly customizable, allowing you to adjust flavors and ingredients to your liking. Most recipes rely on a few core ingredients: heavy cream, whole milk, sugar and flavorings like vanilla or cocoa powder. That means it’s easy to get started with items you may already have in your kitchen.

Homemade Ice Cream Recipe (Base Overview)

Most homemade ice cream starts with one of two bases: no-custard base or custard-style base. Both methods use similar core ingredients, making it easy to switch between vanilla, chocolate and other flavors.

No-Custard Base

This method is a quick mix-and-churn option with no cooking required. Often, you only need to whisk together the ingredients before adding them to an ice cream maker or using the bag method.

Custard-Style Base

Made with egg yolks and cooked for a rich, creamy texture, this more complex method requires a series of steps before you can start churning.

  1. Heat the dairy. In a saucepan, heat the whole milk and heavy cream over medium heat until it begins to simmer. Do not boil. Remove from heat.
  2. Whisk egg yolks and sugar. In a bowl, whisk the egg yolks and sugar together until they turn pale yellow.
  3. Temper the eggs. Slowly pour about half of the hot milk mixture into the egg yolk mixture, whisking to avoid curdling.
  4. Cook the custard. Pour the tempered egg mixture back into the saucepan with the rest of the hot milk. Cook over low-medium heat, stirring constantly with a wooden spoon, until it thickens enough to coat the back of the spoon.
  5. Strain and cool. Strain the custard through a sieve into a clean bowl to remove any cooked egg bits. Stir in the vanilla extract.
  6. Chill. Place the custard in an ice bath to cool quickly, then refrigerate for at least 3 hours or until completely cooled (preferably overnight).
ice cream custard base

How to Make Ice Cream Without an Ice Cream Maker (Bag Method)

Overview of the Bag Method

This method uses ice and salt to freeze your ice cream mixture while you shake it. It’s hands-on, fast and perfect for parties or family fun.

Ingredients (Vanilla & Chocolate Options)

Vanilla ice cream contains what are called the base ingredients. From there, you can add flavors and add-ins.

  • Vanilla: Heavy cream, whole milk, sugar and vanilla extract
  • Chocolate: Base ingredients plus cocoa powder or chocolate syrup

Supplies

  • Quart-size resealable bag
  • Gallon-size resealable bag
  • Ice
  • Rock salt (or table salt)

Step-by-Step Instructions

  1. Mix your ice cream ingredients in the small bag.
  2. Seal it tightly.
  3. Fill the large bag with ice and salt (about ½ to 1 cup salt).
  4. Place the small bag inside the large bag.
  5. Shake for 5 to 10 minutes (or until firm).
  6. Check consistency, scoop and enjoy!
making ice cream in a plastic bag

Homemade Ice Cream Recipes for an Ice Cream Maker

Tips for Ice Cream Maker Success

  • Chill your bowl ahead of time.
  • Use cold ingredients.
  • Follow recommended churn times for best texture

Vanilla Ice Cream (Ice Cream Maker Version)

Ingredients: Heavy cream, whole milk, sugar and vanilla extract

Instructions:

  1. Whisk your base ingredients together. (For a custard-style base, cook ingredients and then cool completely.)
  2. Pour into your ice cream maker and churn.
  3. Freeze until scoopable.

Chocolate Ice Cream (Ice Cream Maker Version)

Ingredients: Heavy cream, whole milk, sugar, vanilla extract and cocoa powder (or melted chocolate)

Instructions:

  1. Whisk cocoa or chocolate into your base. (For a custard-style base, cook ingredients and then cool completely.)
  2. Pour into your ice cream maker and churn.
  3. Freeze until scoopable.
making ice cream with an ice cream maker

Flavor Variations to Try

Once you’ve mastered the basics, it’s time to get creative! Homemade ice cream is your canvas — mix and match the flavor options to your heart’s content. Here are some types of items you can introduce to give your ice cream a tasty twist.

  • Swirl-ins: caramel, fudge and fruit jam
  • Add-ins: crushed cookies, nuts and candy pieces
  • Dairy-free options: swap in coconut milk or plant-based cream


How to Make a DIY Ice Cream Toppings Bar


Set Up Your Station

Creating a well-organized toppings station makes your DIY ice cream bar both fun and easy for guests to enjoy. Start by choosing a spacious, easy-to-clean surface like a kitchen counter or table. Place your ice cream in a chilled bowl or keep cartons nestled in a larger bowl of ice to help prevent melting while guests serve themselves. Set out sturdy scoops so everyone can easily dish up their favorite flavors.

Arrange toppings in small bowls or containers, grouping similar items together (like crunchy, saucy and fruity options) so guests can quickly find what they want. Provide a variety of serving tools for mess-free scooping and drizzling, but don’t forget the essentials: bowls or cones for serving, napkins for easy cleanup and spoons for eating.

Topping Categories

  • Crunchy: sprinkles, nuts and crushed cookies
  • Saucy: HERSHEY’S Chocolate Syrup, fudge, caramel and strawberry sauce
  • Fruity: berries, bananas and cherries
  • Fun extras: whipped cream, marshmallows, chocolate chips and cereal

Tips for Hosting

  • Label the toppings for easy browsing.
  • Offer a mix of kid-friendly and gourmet options.
  • Use small scoops for easy serving.
  • Keep ice cream chilled with ice trays.
caramel syrup drizzling over vanilla ice cream

Ready to Start Churning?

Homemade ice cream is a fun, delicious way to get creative in the kitchen. Whether you try the quick bag method or break out your ice cream maker, there’s no wrong way to enjoy it. Have fun experimenting with flavors, pile on your favorite toppings and turn it into a family activity or get-together. Once you start making your own ice cream, you may never go back to store-bought again!