







How to Make Your Own Chocolate Bar at Home

Published: Jul 28, 2026

It all started with a dream. Before the company and the town and the park, Milton Hershey was just an ambitious candy maker who wanted to find the secret to making delicious chocolate everyone could enjoy. 

Milton’s experiments and innovations would lead to HERSHEY’S becoming one of America’s most beloved chocolate brands. At Hersheyland, we love celebrating his legacy and exploring the joy that chocolate brings. And you can be a part of that, too! 

Inspired by Milton’s spirit of creativity, we’ll show you how you can make your very own custom HERSHEY’S chocolate bar. It’s the perfect hands-on family chocolate activity that’s part dessert, part craft and all fun. 
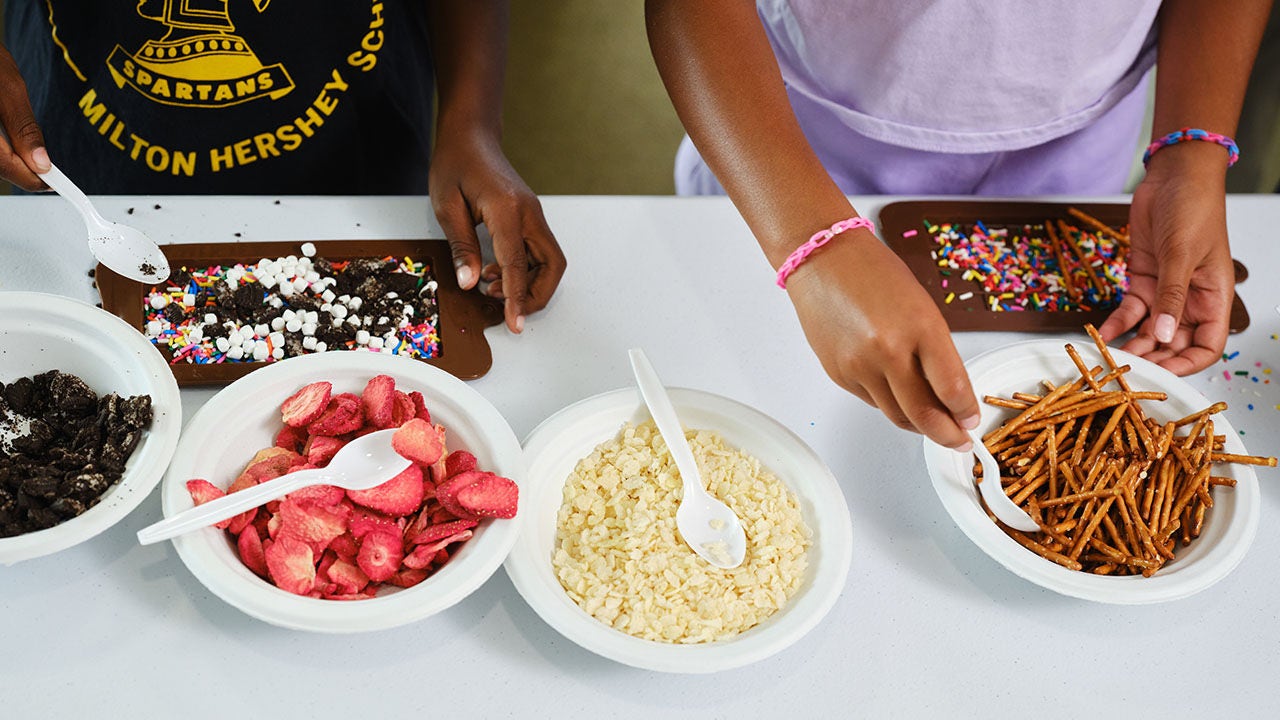
chocolate bar ingredient bowls

Why Making Homemade Chocolate Bars Is the Perfect Family Activity 

Chocolate-making with kids may sound difficult, but it’s actually a fun, interactive family activity. There are no baking skills required, and even younger kids can show off their creativity by helping customize their own bars.  

DIY chocolate bars make excellent gifts or party favors, and they’re perfect for family movie nights. Try making your own in the lead up to the release of the HERSHEY movie

What You'll Need 

Here’s what you’ll need to make your own chocolate bars. 

Ingredients 

Equipment 

  • Microwave-safe bowl 
  • Silicone chocolate molds 
  • Spoon or spatula 
  • Parchment paper Refrigerator 

Mix-In Ideas 

    Sweet 

  • Mini marshmallows 
  • Rainbow sprinkles 
  • Cookie pieces 
  • REESE’S PIECES
  • Chopped caramels 

    Fruity 

  • Dried strawberries 
  • Freeze-dried raspberries 
  • Dried cherries 
  • Freeze-dried bananas 

    Crunchy 

    Smooth 

    Creative 

  • Crushed potato chips 
  • Breakfast cereal 
  • Graham cracker pieces 
  • Coconut flakes 
  • Mint extract 
make your own chocolate bar ingredient table

How to Make Your Own HERSHEY'S Chocolate Bars

Step 1: Melt the Chocolate 

Using the chocolate bar flavor of your choice, break the bar into pieces and place them in a microwave-safe bowl. Microwave on high in short intervals to make sure the chocolate doesn’t burn. Microwave until the chocolate is melted and can be stirred smoothly.  

melted chocolate in bowl

Step 2: Add Mix-Ins 

Layer your chocolate bar mix-ins into your silicone chocolate molds. Let each member of your family select their own mix-ins to create their signature recipe.  

adding sprinkles to chocolate bar mold

Step 3: Fill the Molds 

Pour melted chocolate into the molds, covering your mix-ins. You can add extra toppings for decoration. Just don’t choose mix-ins that are too heavy, because they might sink to the bottom. Good options for toppings include sprinkles or coconut flakes. 

adding chocolate over added ingredients

Step 4: Chill and Set

Put your chocolate molds in the refrigerator and chill until the chocolate is firm. Once the chocolate has fully set, you can pop the bars out of the molds.  

chocolate bar after being set

Step 5: Taste-Test Your Creations 

Now comes the best part: the taste test! Give each bar a fun name based on its ingredients and try each variation.  

You can also turn your chocolate bars into a delicious science lesson. Think about how temperature affects chocolate — how does the chocolate bar snap when you break it right out of the fridge versus when it sits at room temperature? Download this worksheet to become a Chocolate Scientist and find more ideas for chocolate science at our Chocolate Lab!  

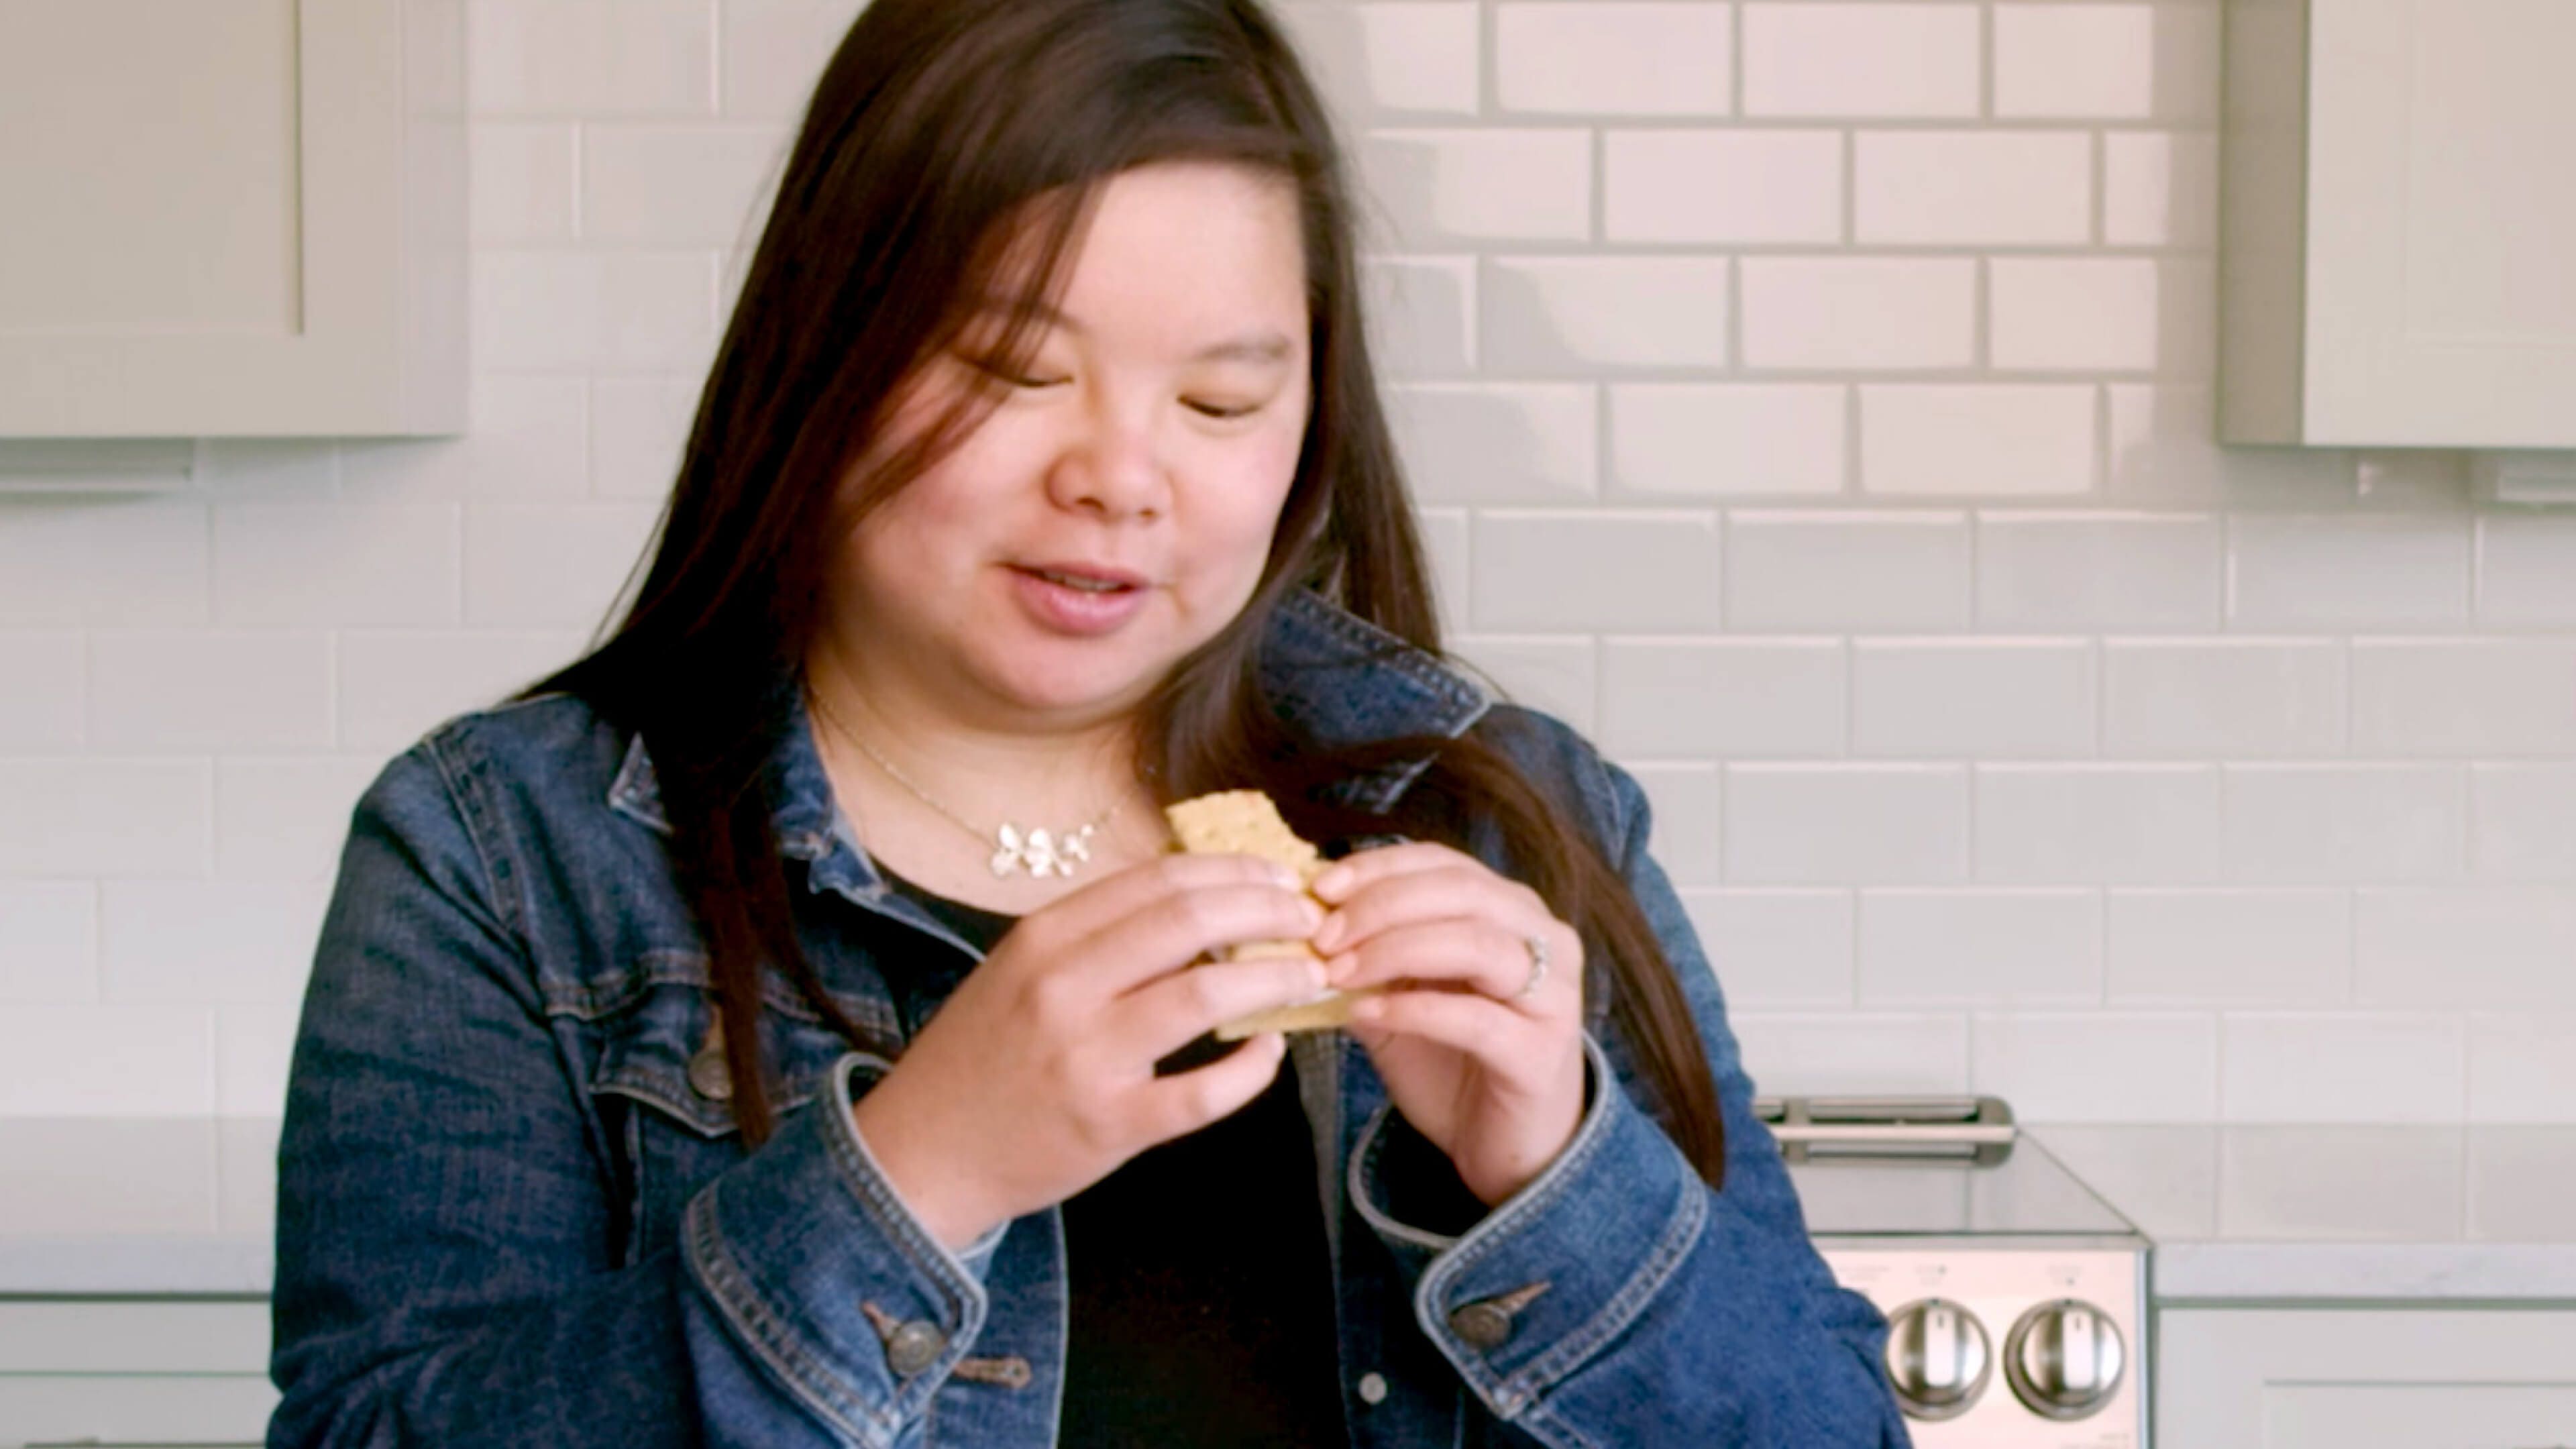
child eating their custom chocolate bar

Invent Your Own Signature Chocolate Bar 

Once you’ve got the hang of making your own chocolate bars, you can turn chocolate making into a regular family activity. Come up with challenges like “create a movie night-inspired bar” or “design a holiday-themed bar.” You can even host a junior chocolatier competition and let everyone vote for winners with awards like “most creative” or “best crunch.” 

Don’t forget to give your homemade chocolate bar a name! See who can come up with the most creative name for their treat. Looking for inspiration? Milton Hershey named his chocolate and peanut candy bar “Mr. Goodbar” after he misheard a company executive remark, “That’s a good bar.” A great name can come from unexpected sources! 

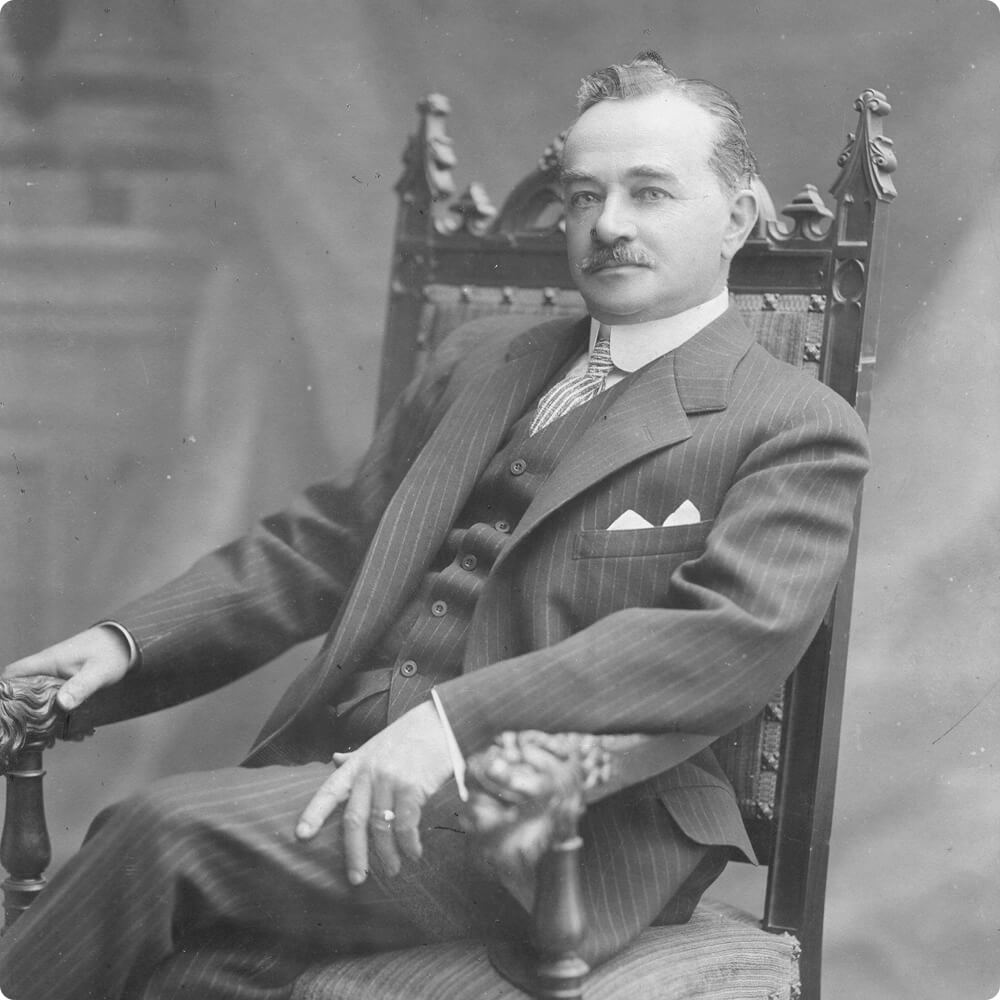
Meet the Original Chocolatier: Milton Hershey

Our founder Milton Hershey didn’t set out to become one of America’s most famous chocolatiers. He began his career working in a candy shop in Lancaster, Pennsylvania. After years living and working around the country, he finally came back to Pennsylvania to start his successful Lancaster Caramel Company.  

But his real passion was chocolate. He wanted to make delicious chocolate that was accessible to everyone. After a lot of trial and error, he perfected his recipe and The Hershey Chocolate Company was born.   

Innovation is at the heart of HERSHEY’S chocolate. When you make chocolate bars with your family, you’re continuing the legacy of Milton!  

milton hershey portrait photo

There are so many ways to have fun and experiment with chocolate. Besides making your bars at home, check out the interactive chocolate experiences at HERSHEY’S CHOCOLATE WORLD! Watch your chocolate creations come to life in the Create Your Candy Bar experience, then design a custom one-pound REESE’S Peanut Butter Cup through REESE’S Stuff Your Cup

And don’t forget to learn more about Milton Hershey’s journey in the HERSHEY movie, coming this Thanksgiving!