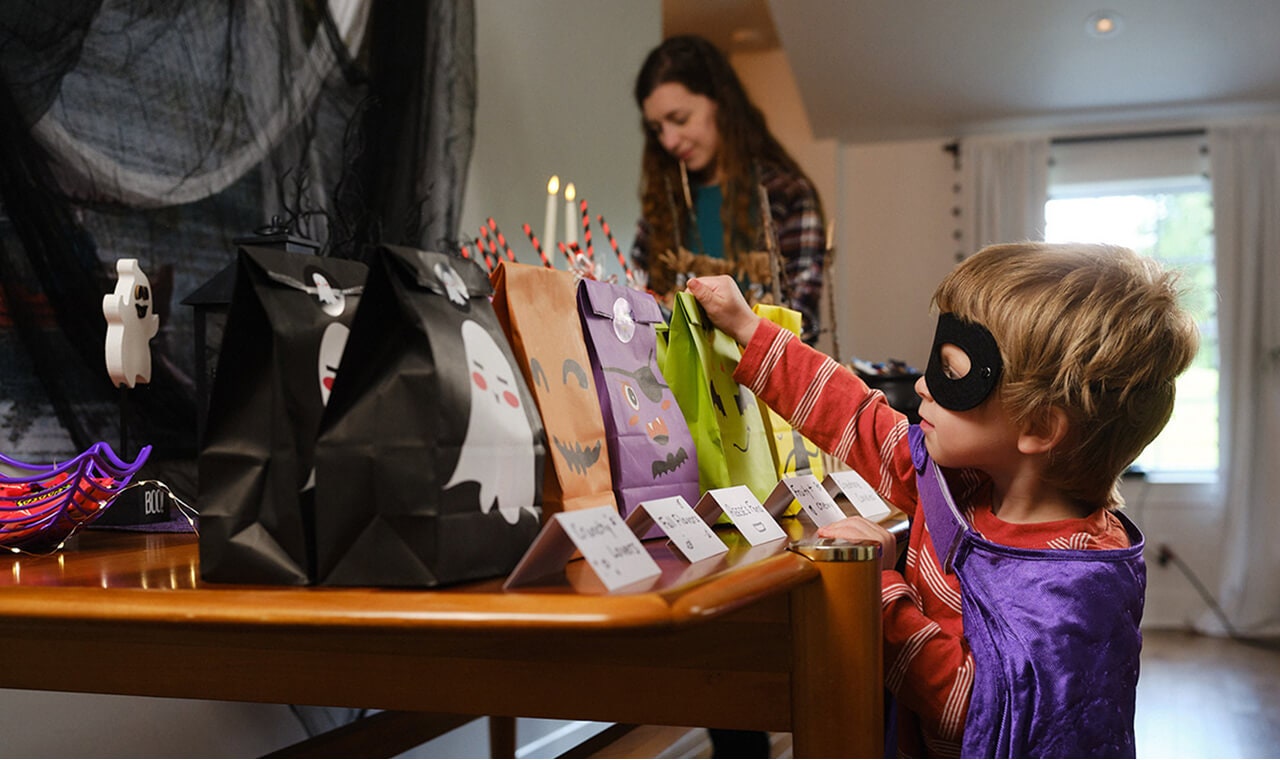
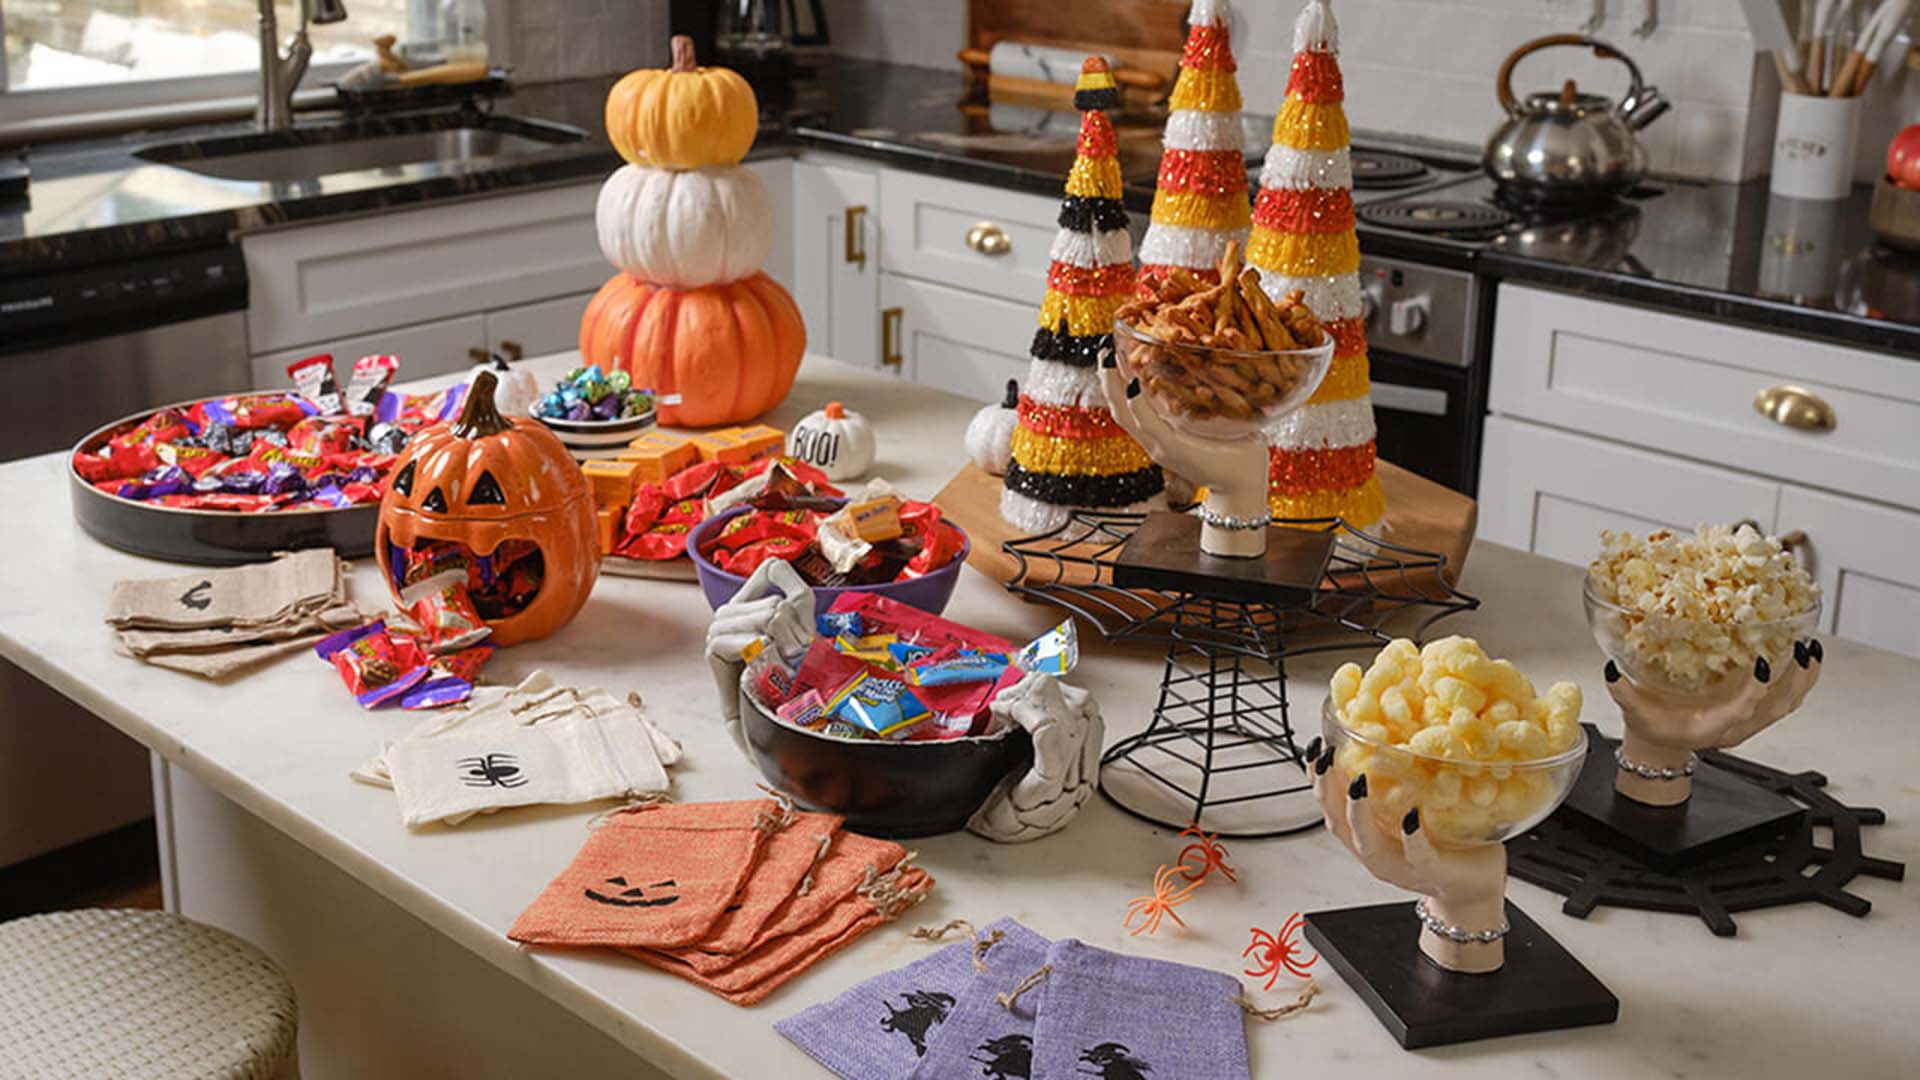
Bring a frightfully festive vibe to your Halloween party’s snack table! A charcuterie board featuring sweet treats, savory bites and a ghoulishly fun presentation will make for one hauntingly delicious spread to delight your guests. Whether you’re hosting a costume party or just looking to celebrate scary season at home, this themed board is easy to build and endlessly customizable.
What Is a Halloween Charcuterie Board?
As a festive twist on the traditional meat-and-cheese platter, a Halloween “char-boo-terie” board is filled with all kinds of themed snacks and Halloween candy favorites. It’s more than just food — it’s a centerpiece that doubles as delicious decoration. And it’s an eerie-sistible way to enjoy Halloween.
Making a Candy Charcuterie Board
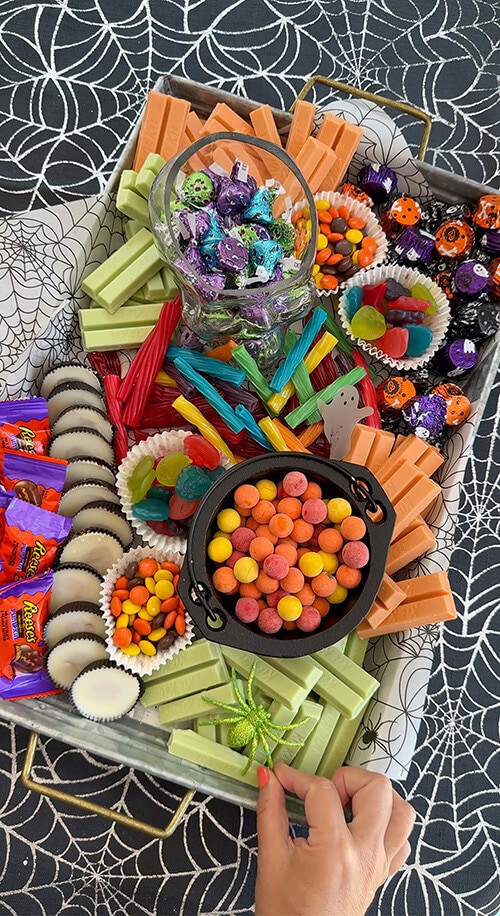
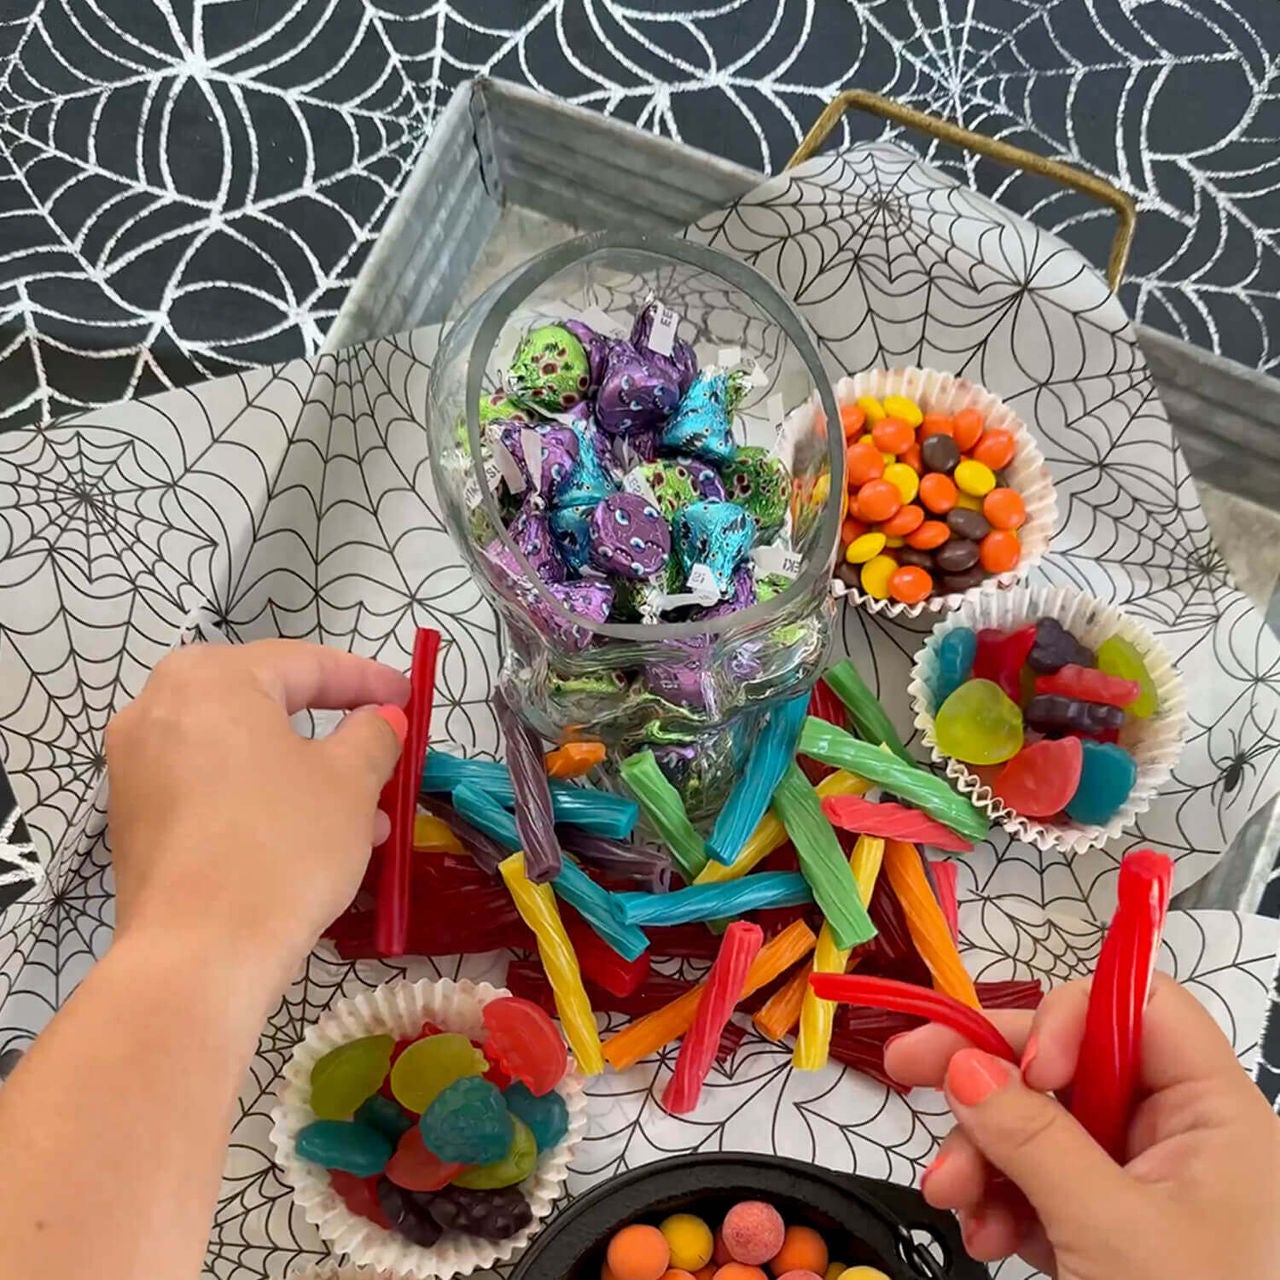
A candy charcuterie board is a perfectly sweet solution for feeding lots of little ghosts and goblins at your Halloween party. They’ll love grazing this scary snack platter loaded with Hershey chocolates and candies, along with fruity treats and themed goodies. While sweets are the stars of this board, there are plenty of cheeses and savory snacks that will pair boo-tifully with the candy. Get creative — it's as fun to build as it is to eat!
What You’ll Need
Before you start, choose a flat surface or serving tray — wooden boards, platters or even a baking sheet will work well. You could also put parchment paper on your countertop for a free-form board.
Now, for the ingredients! Here are some delicious options to get you started, but feel free to experiment with your favorite treats and accessories.
Ingredients
- Fruits – Grapes, oranges, strawberries, apple slices, blackberries and kiwi slices
- Cheeses – Cheddar cubes, brie “jack-o’-lanterns” and mozzarella string cheese “ghosts”
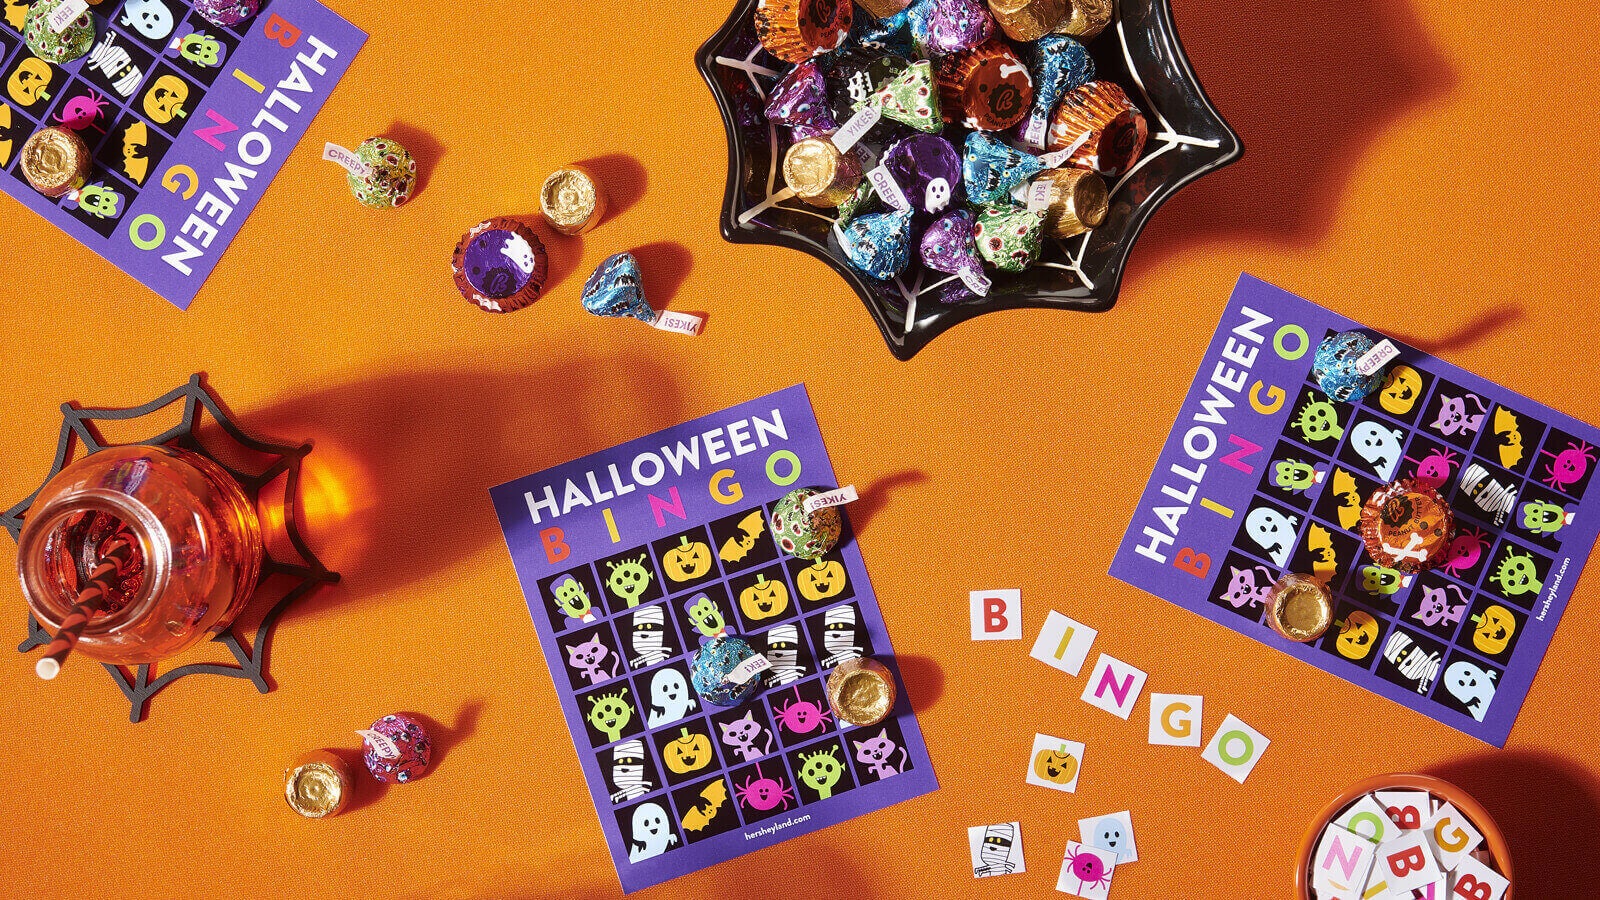
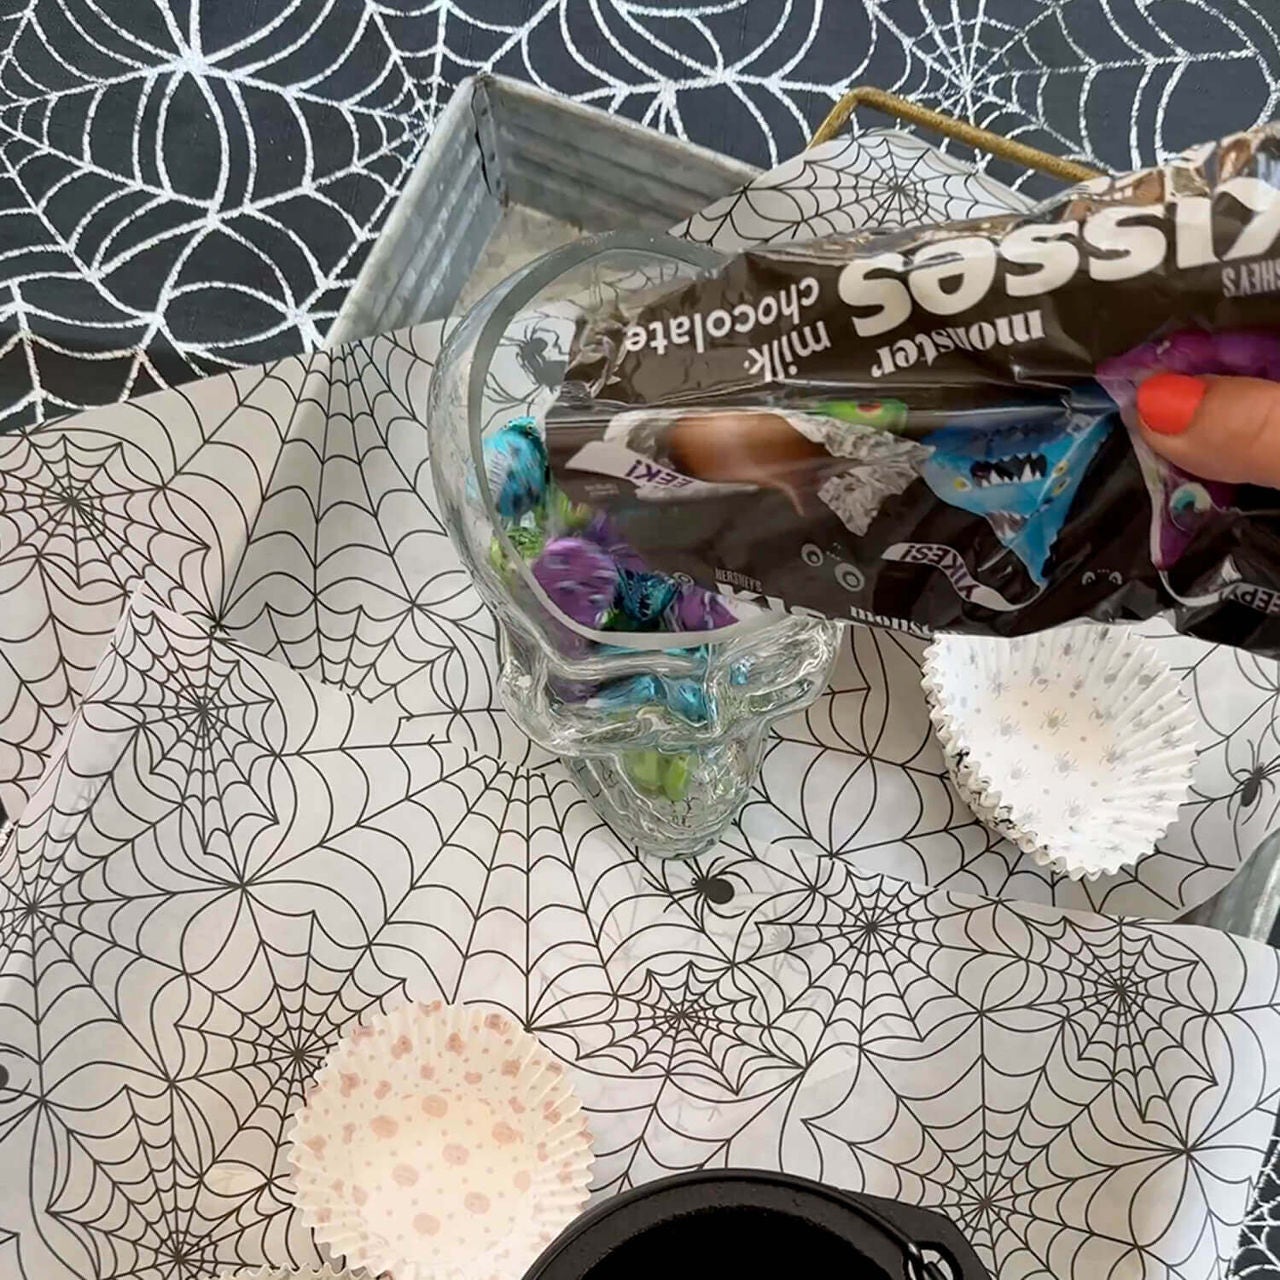
- Hershey candy
- TWIZZLERS Ghosts Cherry Candy
- REESE’S Milk Chocolate Miniatures Peanut Butter Cups
- KIT KAT® Ghost Toast Snack Size Candy Bars
- CADBURY Mini Harvest Handfuls Milk Chocolate Candy
- JOLLY RANCHER Gummies Trickies Original Flavors
- REESE'S PIECES Peanut Butter Candy
- Hershey snacks
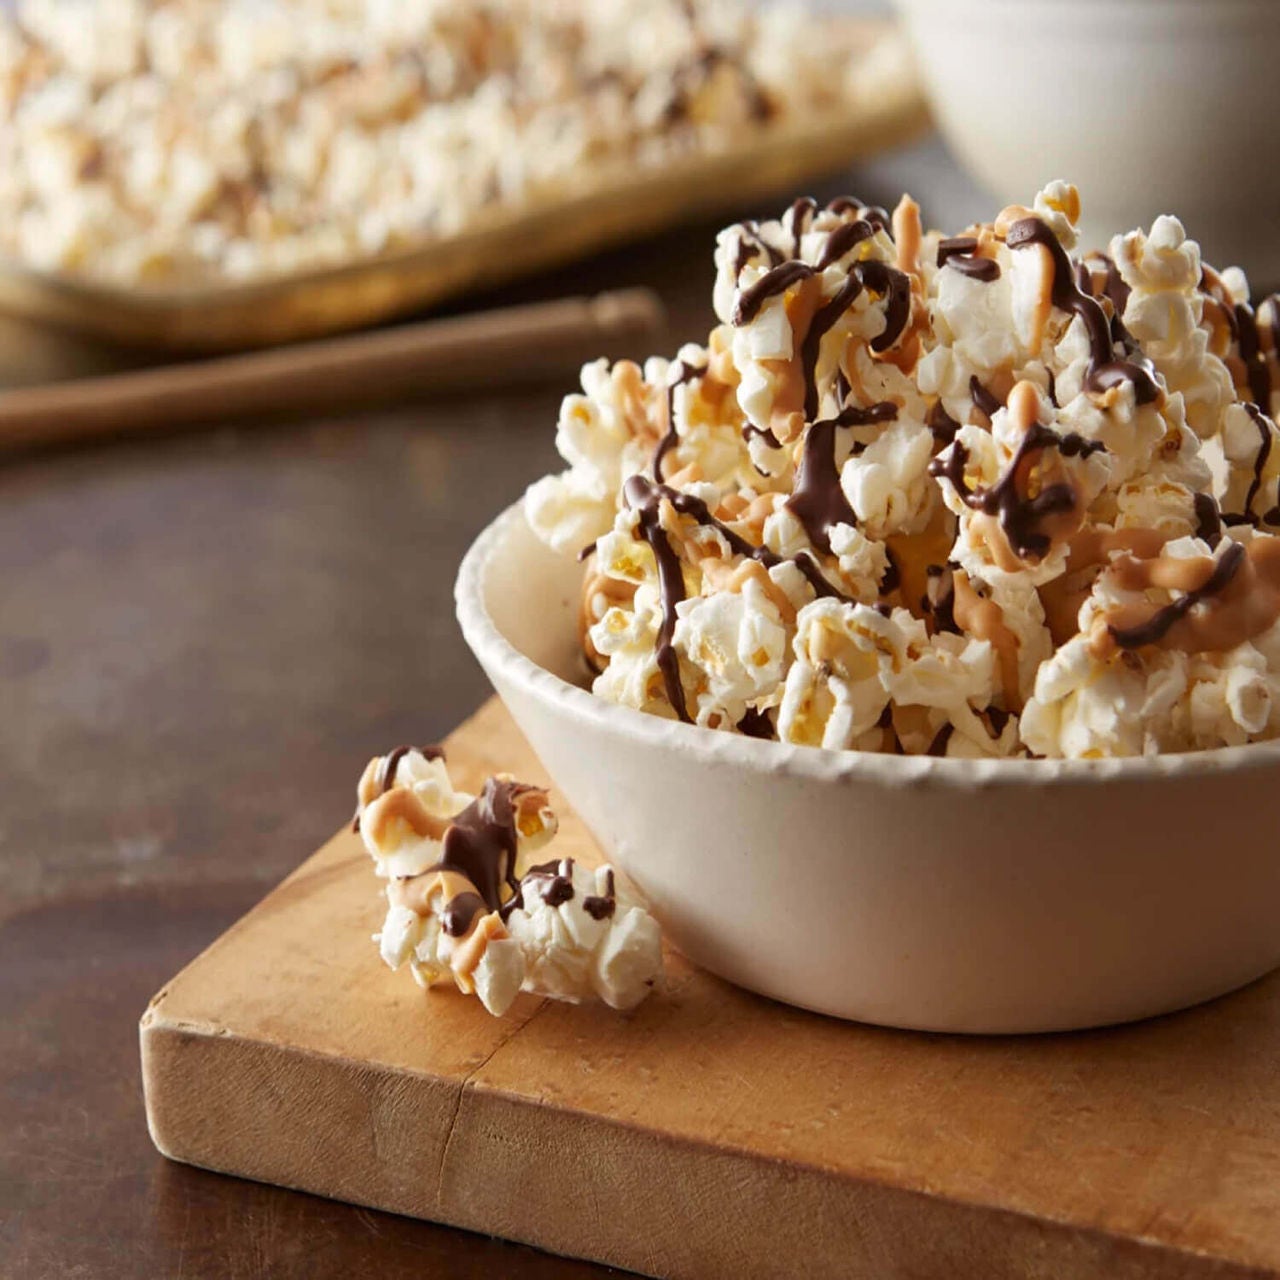
- SKINNYPOP Original Popcorn
- PIRATE’S BOOTY Aged White Cheddar Rice & Corn Puffs
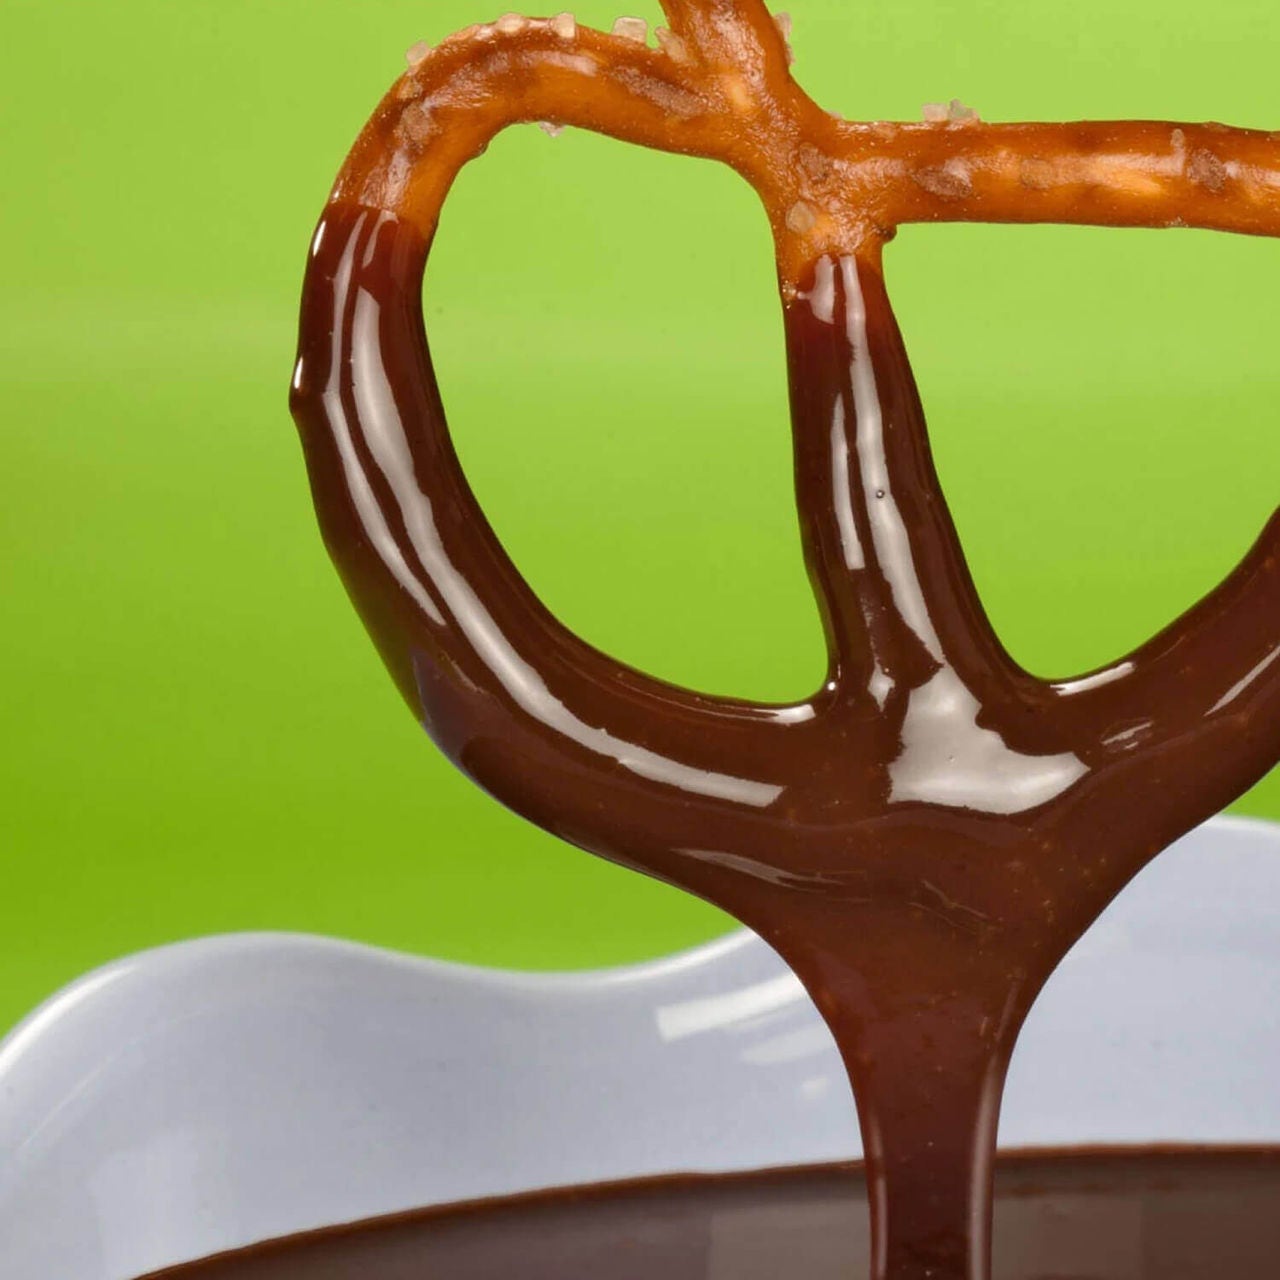
- DOT’S HOMESTYLE PRETZELS Original Seasoned Pretzel Twists
Accessories
The decorative details can be edible or purely aesthetic. Most importantly, they will help you add layers, levels and textures for visual interest.
- Halloween-themed napkins
- Mini pumpkins
- Candy eyeballs
- Plastic spiders
Step-by-Step Assembly
Gather Your Ingredients
- Make a charcuterie board shopping list.
- Find a centerpiece or “anchor” item. This could be a mini cauldron, a small pumpkin or a skull-shaped cheese ball.
- Collect “fillers” like chocolates, candies, pretzels, popcorn and cookies.
Make or Buy Additional Items
Add homemade dips or creepy confections.
- REESE’S Caramel Cup Apple Dip
- Halloween Chocolate-Covered Strawberries
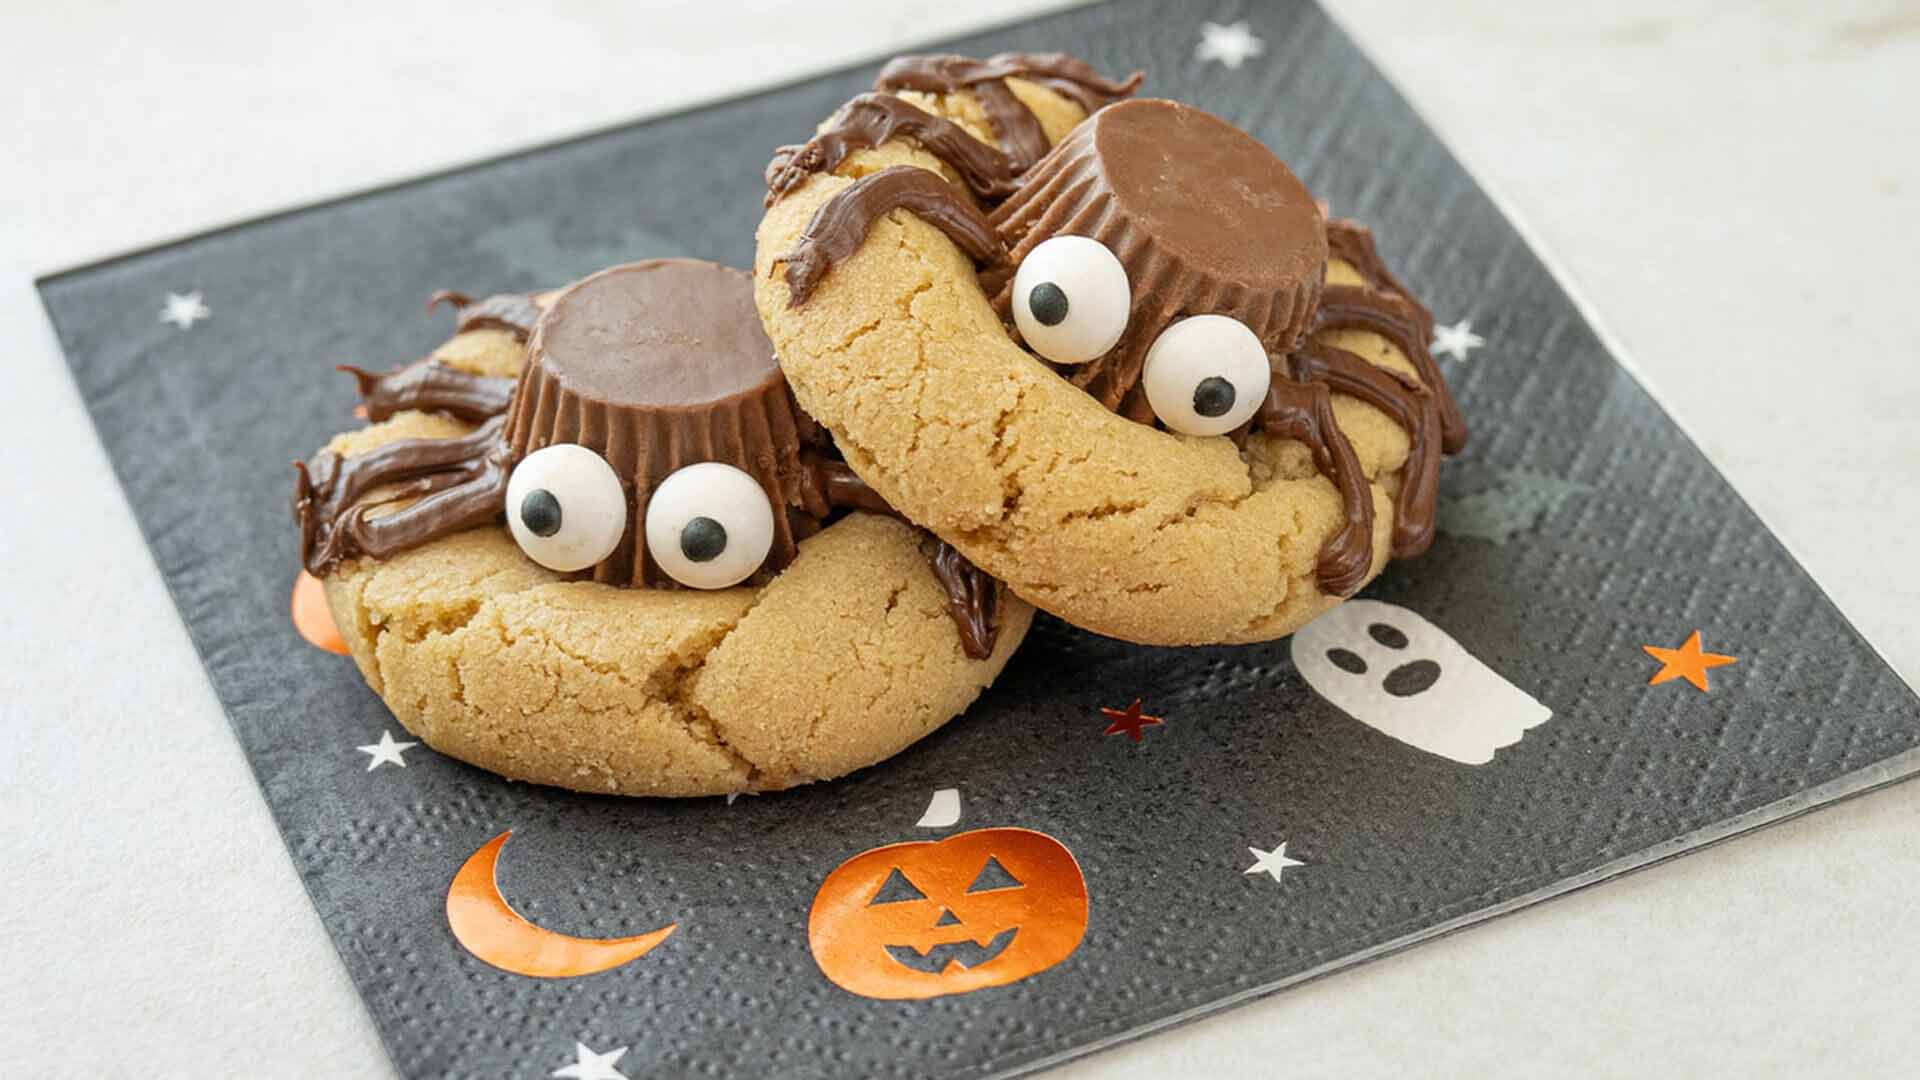
- Yummy Mummy Cookies
- Marshmallow cream cheese dip
- Ginger snaps
Get More Homemade Snack Ideas
Assemble Your Board
- Place your anchor on the board. Try something eye-catching like a cauldron, a skull-shaped brie, a candy coffin or a mummy-wrapped centerpiece.
- Start building your board around the anchor. Use a mix of textures, shapes and colors. Balance the board with a variety of soft, crunchy, sweet and salty treats.
- Use smaller snacks to fill any open spots. Think REESE’S PIECES, HERSHEY’S KISSES Candy, SKINNYPOP Original Popcorn, nuts, mini cookies or chocolate-covered pretzels.
- Balance the layout as you go. Aim for symmetry or deliberate asymmetry to keep it visually fun.
Tie everything together with festive accents. Add fake cobwebs, tiny bats, mini skulls or Halloween-themed toothpicks.
Halloween Charcuterie Flavor Pairing Ideas
Whether you’re aiming for a chocolate charcuterie board or something a little more savory, the best boards include a variety of flavors and textures. Many sweets also pair well with various cheeses. Here are some easy Halloween charcuterie board ideas to mix things up.
Add These Snack Mixes for Savory Flavors
Stir Up Sweet Dips for Fruits and Snacks
Pair Your Sweets with Cheeses
Sweet and savory pairings are perfect for a Halloween charcuterie board! The contrast of creamy, salty cheese with sweet treats adds both surprise and balance to your board.
Try these combos:
- Brie + HERSHEY’S Milk Chocolate Bar
- Aged cheddar + REESE’S Peanut Butter Cups
- Goat cheese + HERSHEY’S SPECIAL DARK Chocolate Bar
- Blue cheese + HERSHEY’S Milk Chocolate with Almonds Bar
- Gouda + KIT KAT® Ghost Toast Bars
Charcuterie Layout Inspirations
- Haunted Graveyard Board – Use cookies as tombstones and crushed chocolate cookies as “dirt.”
- Witch’s Brew – Build your board around a bubbling chocolate dip centerpiece.
- Monster Mash-Up – Add candy eyes, gummies and unexpected color pops.
- Pumpkin Patch – Focus on orange items and put jack-o’-lantern faces on everything!
Presentation Tips
- Use height and layers. Create visual interest by adding height — use small bowls, cupcake stands or overturned ramekins. Layer snacks (like candy or fruit) in little mounds to make the board feel full and dynamic.
- Use Halloween hues. Stick to orange, black, white, purple and green.
- Play with shapes and textures. Cut cheeses or fruits with Halloween-shaped cookie cutters (like bats, ghosts and pumpkins). Mix soft and crunchy, smooth and rough — think grapes next to pretzels, or marshmallows beside REESE’S PIECES.
- Use edible props. Add snackable style with chocolate eyeballs, candy bones or ghost-shaped cookies.
- Add themed containers. Place dips, candy or loose items in Halloween-themed bowls — mini cauldrons, pumpkin cups or black ramekins.
- Fill every gap. A full board looks more inviting! Use small candies, nuts or popcorn to fill empty spots so the board feels abundant and exciting.
- Label with style. Add toothpick flags, mini chalkboard labels or Halloween tags to identify items. It also allows you to create frightfully fun names for everything.
- Light up the board. Add battery-operated tea lights or a small strand of Halloween fairy lights around the board for an extra magical glow.
Storage & Make-Ahead Guidance
- Assemble fruits and candies up to a day ahead — store them in airtight containers.
- Lay out dry ingredients on the board early but add fruits and dips right before serving.
- Refrigerate perishable items like cheeses and dips until you're ready to serve them
Frequently Asked Questions
-
A Halloween charcuterie board includes a mix of sweet and savory snacks with a festive twist. Think Halloween-themed candies, cookies, dips, cheeses, cured meats, crackers, fruit and creepy-cute props like candy eyeballs or mini pumpkins.
-
You can prep most dry ingredients (candy, crackers, popcorn) a day ahead. Refrigerate fruits and cheeses separately and assemble the full board 1–2 hours before serving for the freshest look.
-
For a small gathering (4–6 people), a cutting board or dinner platter works well. For larger parties, you can use a rimmed baking sheet or even a piece of parchment paper on a counter for a free-form grazing table.
-
Sweet and savory pairings are perfect for a Halloween charcuterie board! The contrast of creamy, salty cheese with sweet treats adds both surprise and balance to your board.
Try these combos:
- Brie + HERSHEY’S Milk Chocolate Bar
- Aged cheddar + REESE’S Peanut Butter Cups
- Goat cheese + HERSHEY’S SPECIAL DARK Chocolate Bar
- Blue cheese + HERSHEY’S Milk Chocolate with Almonds Bar
- Gouda + KIT KAT® Ghost Toast Bars
-
To keep chocolate from melting, assemble the board in a cool area and avoid direct sunlight or warm surfaces. Place chocolate in bowls or cupcake liners to keep it protected and consider refrigerating the chocolate until just before serving
-
Yes! Let them place candy, arrange accessories or help make homemade dips. It’s a fun way to get them involved in Halloween prep without sharp tools or ovens.